Midweek Mashup

MIDWEEK MASHUP

Happy Wednesday.

This week I bring you a delicious cookie recipe that happens to be vegan and wheat free (whaaaat?!) and some information that will hopefully enrich your life a little and maybe even make it better.

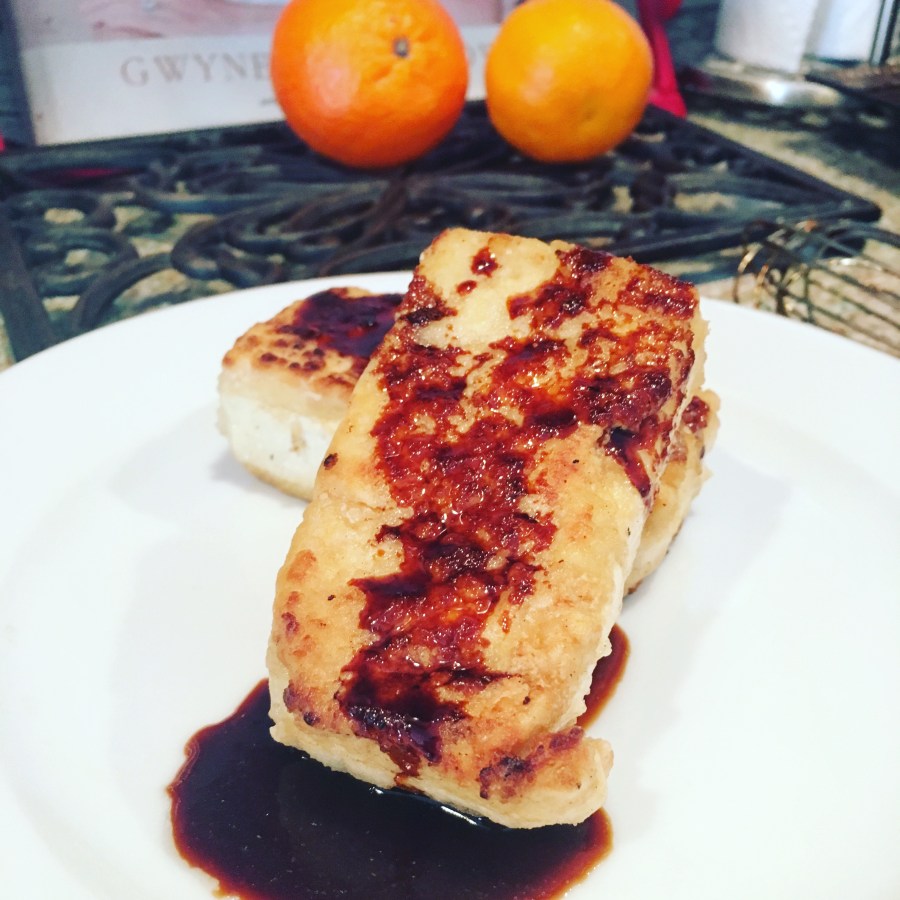
Do you eat granola?  And if so, do you consider it a healthier option than other popular breakfast foods? Nutritionist have long known that most commercial granola is chock full of sugar and consider it a dessert. I suppose that rings true with many of the granolas you’ll find on the shelves. I have found one I love with only good ingredients like oats, dried fruit, millet and quinoa. Purely Elizabeth has an ancient grain line that I love, with my fave being cranberry pecan. It has 6 grams of sugar per 1/3 cup. Ok, yes, 1/3 cup is a very small serving. I pour that much into my bowl and add slivered almonds, fresh blueberries and chia seeds. So, then I’ve got good proteins and fat and it isn’t overwhelmingly sweet. You can also use it to sprinkle on unsweetened yogurt. The thing about granola is that it isn’t meant to be eaten in large quantities. Think of it as an addition to your breakfast rather than the main event. 

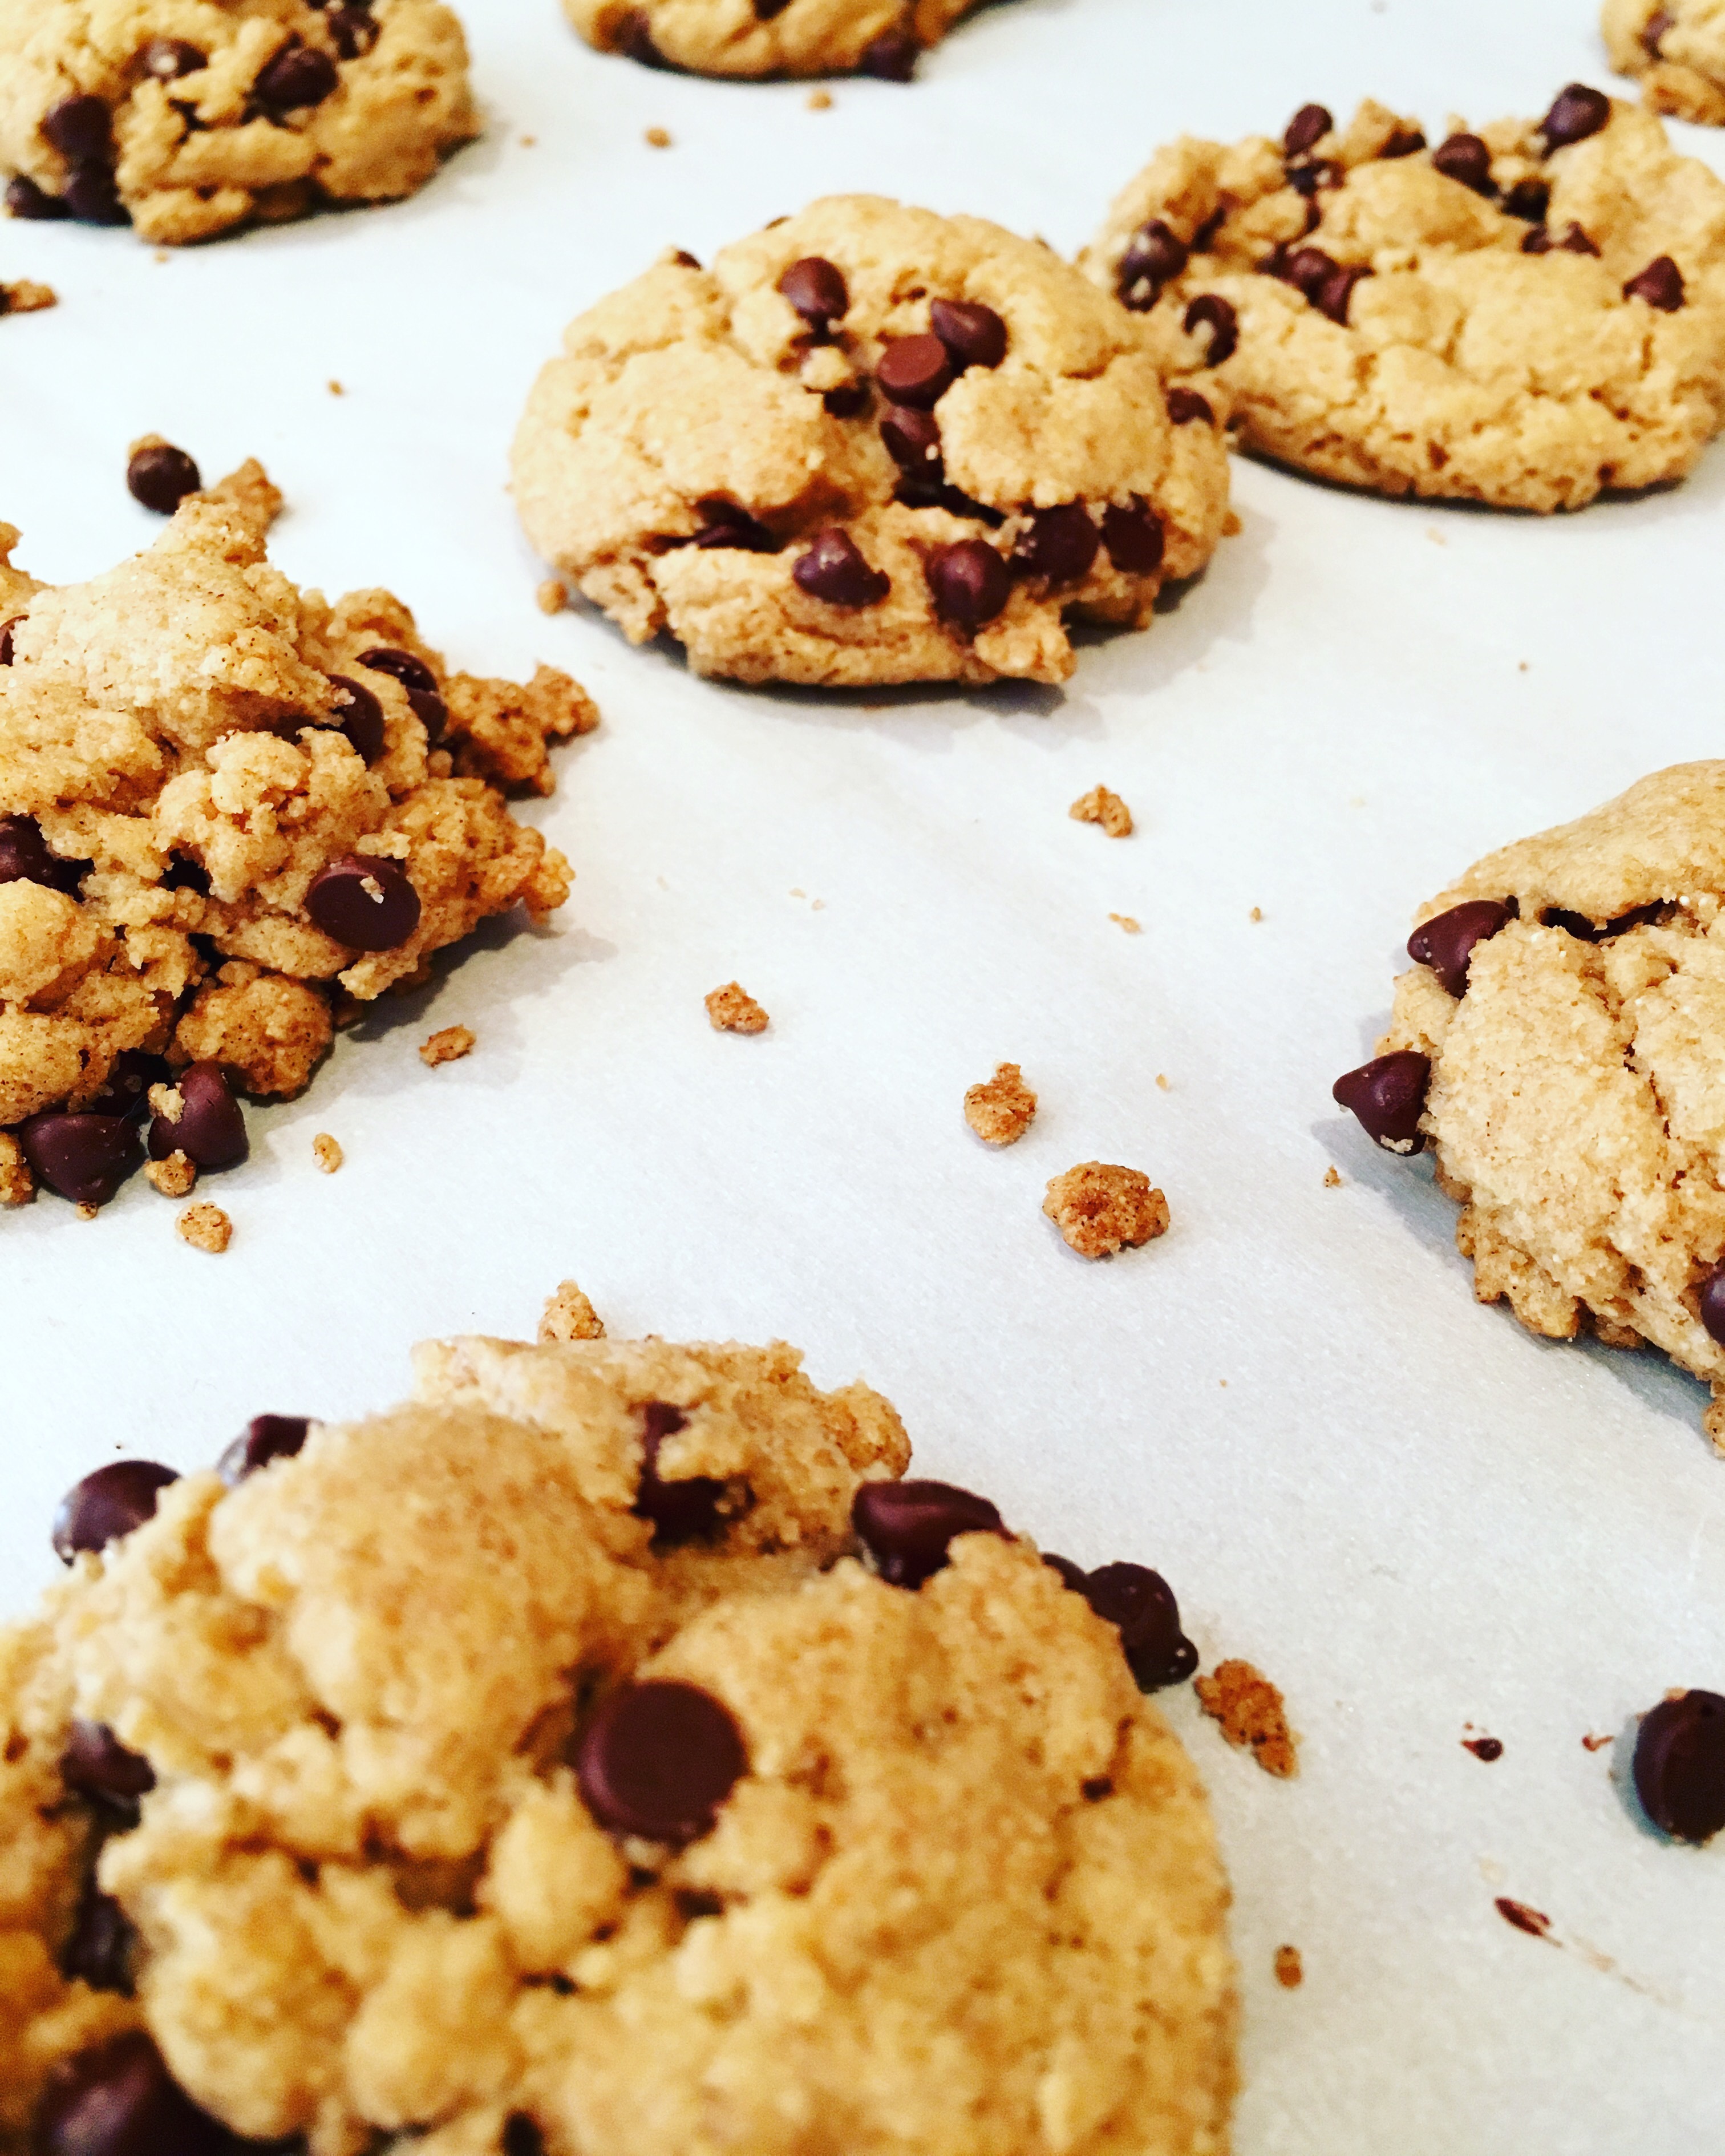
As you might have read in previous posts, my 11 year old is in the middle of an elimination diet. She’s about halfway through. It’s been a challenge, to say the least. But she’s getting used to it. Yesterday she told me she thought giving up wheat and dairy would be the hardest but actually it’s corn and nightshades, because potato starch and/or corn derivatives are in most packaged foods. Most gluten-free products contain one or both. Almost all candy has corn syrup (yes, candy isn’t healthy, we know that). It’s hard to avoid corn, no matter how much you might try, unless everything you eat is prepared at home from scratch (hello, unrealistic for most).One thing that she has missed is a good chocolate chip cookie. Most chocolate chips have dairy, but I found a brand called Enjoy Life that are vegan and also free of almost all allergens. Yesterday she made a batch of spelt chocolate chip cookies that were to die for. I’m not kidding, they are so good. She found the recipe here: Chocolate Chip Cookies. The only thing I did to help was put the cookies in the oven and take them out at the end. Don’t these look amazing?


And finally, if you’re like me and try to make meals using up your pantry items a few times a year, here’s a great list of things you can cook. My husband gets super excited when I do this because it means I’m being economical and there’s nothing sexy than being economical!

Here’s to a great rest of your week. As always, please share this post with someone you think might enjoy it. Even better, click to subscribe to my blog so you don’t miss any great tidbits!


New Recipe: Easy Peanut Butter Balls (and an update on the elimination diet).


Today is day 10 of my daughter’s modified elimination diet. Tomorrow is the first day that we start adding foods back in. She gets to eat 5-6 servings of one of the food groups that we’ve been avoiding, followed by two days of “watch and wait”. She has chosen nightshades  because she really misses tomatoes, peppers and potatoes.

I’ll be honest: neither one of us has seen or noticed any changes since starting the elimination protocol. Maybe when we introduce things back into her diet she’ll notice something. Hopefully there won’t be a big reaction which would indicate a sensitivity and a need to avoid.

The last 10 days have been trying for her. I get it. When you’re told you can’t have something it only makes you want it more, right? But she is still being a trooper and I commend her for it. There has been no whining, no tantrums, no pushback. She’s stoic (like her dad) and while she really has disliked this experience intensely, she’s persevered.

We just took a three day girls’ trip and I packed much of our food. Eating out was a challenge but we found some places willing to work with us. Two of the restaurants specialized in vegan and gluten-free which usually means that they are more open to special requests. And both happened to be featured on Diners, Drive-Ins and Dives, so that was cool. Shout outs go to At Sara’s Table Chester Creek Cafe and Duluth Grill!

Now on to the new recipe I promised. These Easy Peanut Butter Balls are full of protein, healthy fats, and healthy whole grains. They really couldn’t be easier to make and they are guaranteed to please just about anyone. Make a double batch and keep them in your fridge for an easy grab-and-go breakfast for busy mornings and after school snacks.

EASY PEANUT BUTTER BALLS

INGREDIENTS:

1 cup natural peanut butter (I really like the no-stir Whole Foods creamy)

1 cup rolled oats

1 cup vanilla protein powder (I couldn’t get by without Orgain, which happens to be vegan)

1/2 cup honey (use local if you have seasonal allergies, as it’s thought to help with symptoms)

Optional: chocolate chips

METHOD:

Stir all the ingredients together, then form into balls the size of a golf ball. If they are too sticky, add a bit more protein powder or oats. Likewise, if they are too dry, add a bit of honey or peanut butter. Keep in a sealed container in the refrigerator.

Will you try these? Do you have a variation you like?  Tell me in the comments!

You might also like:

NEW RECIPE! Spelt Pancakes: better than you’d imagine!

New Recipe! Pan Fried Tofu


NEW RECIPE! Spelt Pancakes: better than you’d imagine!

If you’ve read my blog recently, you know my daughter is currently doing a modified elimination diet. Even though not one person has made a disparaging comment, I feel a little defensive about this decision. I don’t take drastic dietary changes lightly, even as a holistic nutrition student. Making big diet adjustments can be really hard on anyone, and for kids even more so. But, here we are, and on day 5 no less.  It has not been fun for her, but I’m doing my best to make foods for her that are similar to what she already loves.  Yesterday I made a quesadilla using brown rice tortillas and goat’s milk cheddar.  Let’s just say that wasn’t a home run.

But on Saturday morning, I made chocolate pancakes using the spelt flour that was recommended by our nutritionist. They were delicious and she asked for them again yesterday. SUCCESS! Sadly I forgot to snap a photo for the blog, but rest assured they looked fantastic.

They aren’t gluten-free, but rather wheat-free which is part of our protocol. They were fluffy (but also dense, if that makes any sense?!). And the taste was on par with traditional pancakes. Here’s how I made them:

INGREDIENTS:

2 cups spelt flour

4 teaspoons baking powder

2 eggs

1 teaspoon vanilla extract

1 1/3 cups milk (we used Ripple milk, a new milk made from green peas)

A generous sprinkling of dark chocolate chips or blueberries

Butter (we used Earth Balance vegan butter)

METHOD:

Whisk the dry ingredients together in a large bowl.

Mix the wet ingredients together in a separate bowl.

Slowly fold in the wet ingredients to the dry, mixing thoroughly.

Add in chocolate chips (you can also use blueberries or whatever add-ins you prefer). I didn’t measure the chips, but rather eyeballed to our preference.

Melt a little butter in the skillet and add a mixing-spoonful of batter to the hot surface.

Cook, checking for doneness frequently. When the pancake is firm enough to flip, turn over and cook until done.

ENJOY! Please let me know what you think of these pancakes if you make them at home! I always love comments and shares. 

You might also like:

New Recipe! Pan Fried Tofu

Braised Chicken With Green Olives & Garlic


Elimination Diet

This past week my 11 year old daughter was put on a modified elimination diet by a nutritionist. She has some GI stuff going on, plus eczema and keratosis pilaris (“chicken skin” on the backs of her arms). As a nutrition student, I understand that there are people who have food sensitivities and that sometimes those sensitivities lead to inflammation in the body, which can present itself in lots of different ways. Skin issues, headaches, GI distress, mood imbalances are just a few ways in which food sensitivities can show themselves. 

So, off to the nutritionist we went. After a thorough intake she suggested a modified elimination diet (she has 30 years of experience and has a master’s degree in nutrition, so I feel quite comfortable in her expertise). Doing an elimination diet with an 11 year old growing girl who is an adventurous eater is a major bummer. But, it’s only for a few weeks so we will give it a try.

The foods she has to avoid completely for 10 days are:
1. Corn. This includes corn starch and high fructose corn syrup. I am realizing corn is in A LOT of packaged foods.

2. Nightshades (peppers, tomatoes, potatoes and eggplant). This is a bummer because she eats peppers and tomatoes in large quantities. And, you know, french fries.

3. Cow’s dairy. Again, in so many different foods. Sheep and goat dairy is ok.

4. Wheat. This doesn’t mean gluten-free. She can have spelt and rye and barley, etc. I realize after looking at oodles of gluten-free packaged goods that most have corn starch or potato starch in place of wheat.

Last night we went out to dinner at the Yard House, a restaurant that has an extensive menu. After much back and forth with the waitress, who was really accommodating, we finally settled on grilled shrimp, jasmine rice, and steamed broccoli.  All of their sauces contain corn starch or soy sauce (wheat). The orange chicken, the chicken rice bowl, the street tacos, the chicken teriyaki — all were off limits. If it were me at age 11 I would have cried and thrown a fit, but my daughter rolled with it.  That’s not to say she’s happy, for last night she announced that “I’m ok but I *hate* it”. I get it, it stinks. But it’s a short period of time and hopefully we will be able to identify any foods that are causing issues, cut them out for a period of time, and then reintroduce them slowly back. The end game is hopefully a healthier kid.

I dabbled with the idea of doing the elimination with her in solidarity but I quickly realized that I needed my energy and focus to help her through these next few weeks. When she’s done it’s quite possible I will give it a try. Don’t expect me to give up coffee or wine, though.

I’ll keep you updated on our progress! This is day 3, and I’m sure there will be lots to share in upcoming days.

New Recipe! Pan Fried Tofu

Pan Fried Tofu

I love tofu. But I have always been a little afraid to cook with it at home because it felt fussy to me. For years I’ve been wanting to try pan frying it, ever since my friend Becky told me she made it and it was really delicious.

The other day I was hungry for lunch and I had very little in my refrigerator. I did, however, have some organic extra firm tofu. I looked up a few different recipes and decided to use a mixture of all of them. What I love about pan fried tofu is the crispy “skin”. The texture is really pleasing and if you season it well it will taste delicious.

I always buy organic if I can, and I eat it at most a couple of times a week. Lots of studies show that whole soy can be healthy for us in many ways, but there are also conflicting studies that show the opposite.  As with all things, it’s up to the individual to decide what is right for them.  If you are interested in reading more about soy and your health, click here, here or here.  One thing is for certain: it’s high in protein (it’s actually a complete protein, something you rarely find in vegetarian food), low in calories, and has some healthy fat to keep you full.

PAN FRIED TOFU

1 package firm or extra firm tofu (organic if possible)

1-2 T (or more) of olive oil

2-3T corn starch (buy organic if you wish)

Salt and pepper

2 T honey

1/4 cup soy sauce (I prefer the San-J gluten-free Tamari)

1 t garlic powder

METHOD:

Slice tofu into 1/2 inch “fillets”

Place tofu folded paper towels on a plate. Sprinkle with salt and pepper.

Place a small casserole dish on top of tofu, and then place a heavy can or jar of sauce in the casserole dish to press down on the tofu. Let stand for 15 minutes to squeeze out excess liquid.

Pat tofu dry, then place in a colander.  Sprinkle the corn starch all over the tofu.  This is what’s going to give it a nice crust.

Heat olive oil in a nonstick pan and when hot, place the tofu in the pan. Let sit for about 5 minutes to form a nice golden brown crust, checking periodically to make sure it’s not burning.

In the meantime, combine honey, soy sauce and garlic powder in a small saucepan, and heat over medium-low, stirring often, until it reduces to a glaze.

Turn tofu over to brown the other side.  When done, place on a plate and drizzle the glaze on top.

ENJOY!

You might also like:

Easy Posole

Quinoa With Roasted Butternut Squash

Hearty Lentil Soup


Friday Cocktails: The Caipirinha!

Friday Cocktails

This week I’m putting my obsession with watching Stranger Things (can we talk about that show at a later date? I mean, DAMN) and Gilmore Girls on the back burner for the XXXI Olympiad in Rio. I’m trying not to think about the disgusting lake water and uninhabitable athlete villages and instead focus on all the amazing stories of trials and tribulations that suck me in and make me cry. Oh, and also the level of athleticism is ridiculous. Fun fact: did you know Usain Bolt has never run a mile? Like, never? It’s too “far”.  So essentially I am a better runner than Usain Bolt.

Tonight we are going to a get together with friends to watch the opening ceremonies. Just as I was about to text my friend and ask if we should make Caipirinhas, she texted me first and asked the same thing. So yeah, it’s happening. Hashtag great minds think alike. You should also know it’s pronounced Kai-Pee-Reen-Ya. I have been pronouncing it all wrong in my head all these years.

This traditional Brazilian cocktail is reminiscent of a daiquiri, but the limes are muddled at the bottom of the glass and kept in. It uses a traditional Brazilian rum made from the fermented juice of sugarcane (rather than molasses as in the most other rums).

If you want to make your own at home, here’s the recipe.

Caipirinha2

CAIPIRINHA

2 fl. oz. Cachaça (pronounced Ka-Shah-Suh, like a woman’s beautiful exotic first name)
Half a lime, quartered
2 tsp. Sugar (preferably raw or turbinado sugar) or .5 fl. oz. simple syrup (click to learn how to make your own.)

Add lime wedges and sugar to a rocks glass. With a muddler (or the end of a wooden spoon if you’re simple folk like me) press down and crush the limes to release the juice and the oils from the peel. Add ice, then cachaça and stir the drink. Add more ice if desired.

Viva! Saúde! 

You might also like:

Friday Cocktails! The Hot-As-Heck Margarita

Friday Cocktails: The French Pear