Salmon with Clementine Cucumber Salsa

clementine cucumber relish fish

I continued on my quest of cooking every recipe in Gwyneth Paltrow’s cookbook It’s All Good this week.  I had some salmon in the freezer and the ingredients for the salsa already in my fridge.  My 11 year old, Reese, helped me assemble the ingredients and acted as my sous chef, which means she peeled the clementines.  Sometimes she’s more enthusiastic about being helpful in the kitchen than others.  While reading the recipe out loud to me she said “This is the first recipe I’ve seen in this book that doesn’t have some totally crazy ingredient”.  I laughed because it’s true.  Gwyneth loves a good totally obscure ingredient (gochugaru anyone?).

The recipe for this dish was ultra-easy which is perfect for a weeknight dinner.  It called for cilantro and mint, both of which I didn’t have on hand.  I firmly believe in adjusting recipes on the fly and not adhering too strictly.  I love both mint and cilantro but knew the salsa would still taste good without it.  I ended up eating the leftover salsa as a salad the next day for lunch. I got two favorable reviews from my kiddo and husband and I also thought it was really tasty. I will definitely make it again and again.

Here it is, adapted from Gwyneth’s original:

INGREDIENTS:

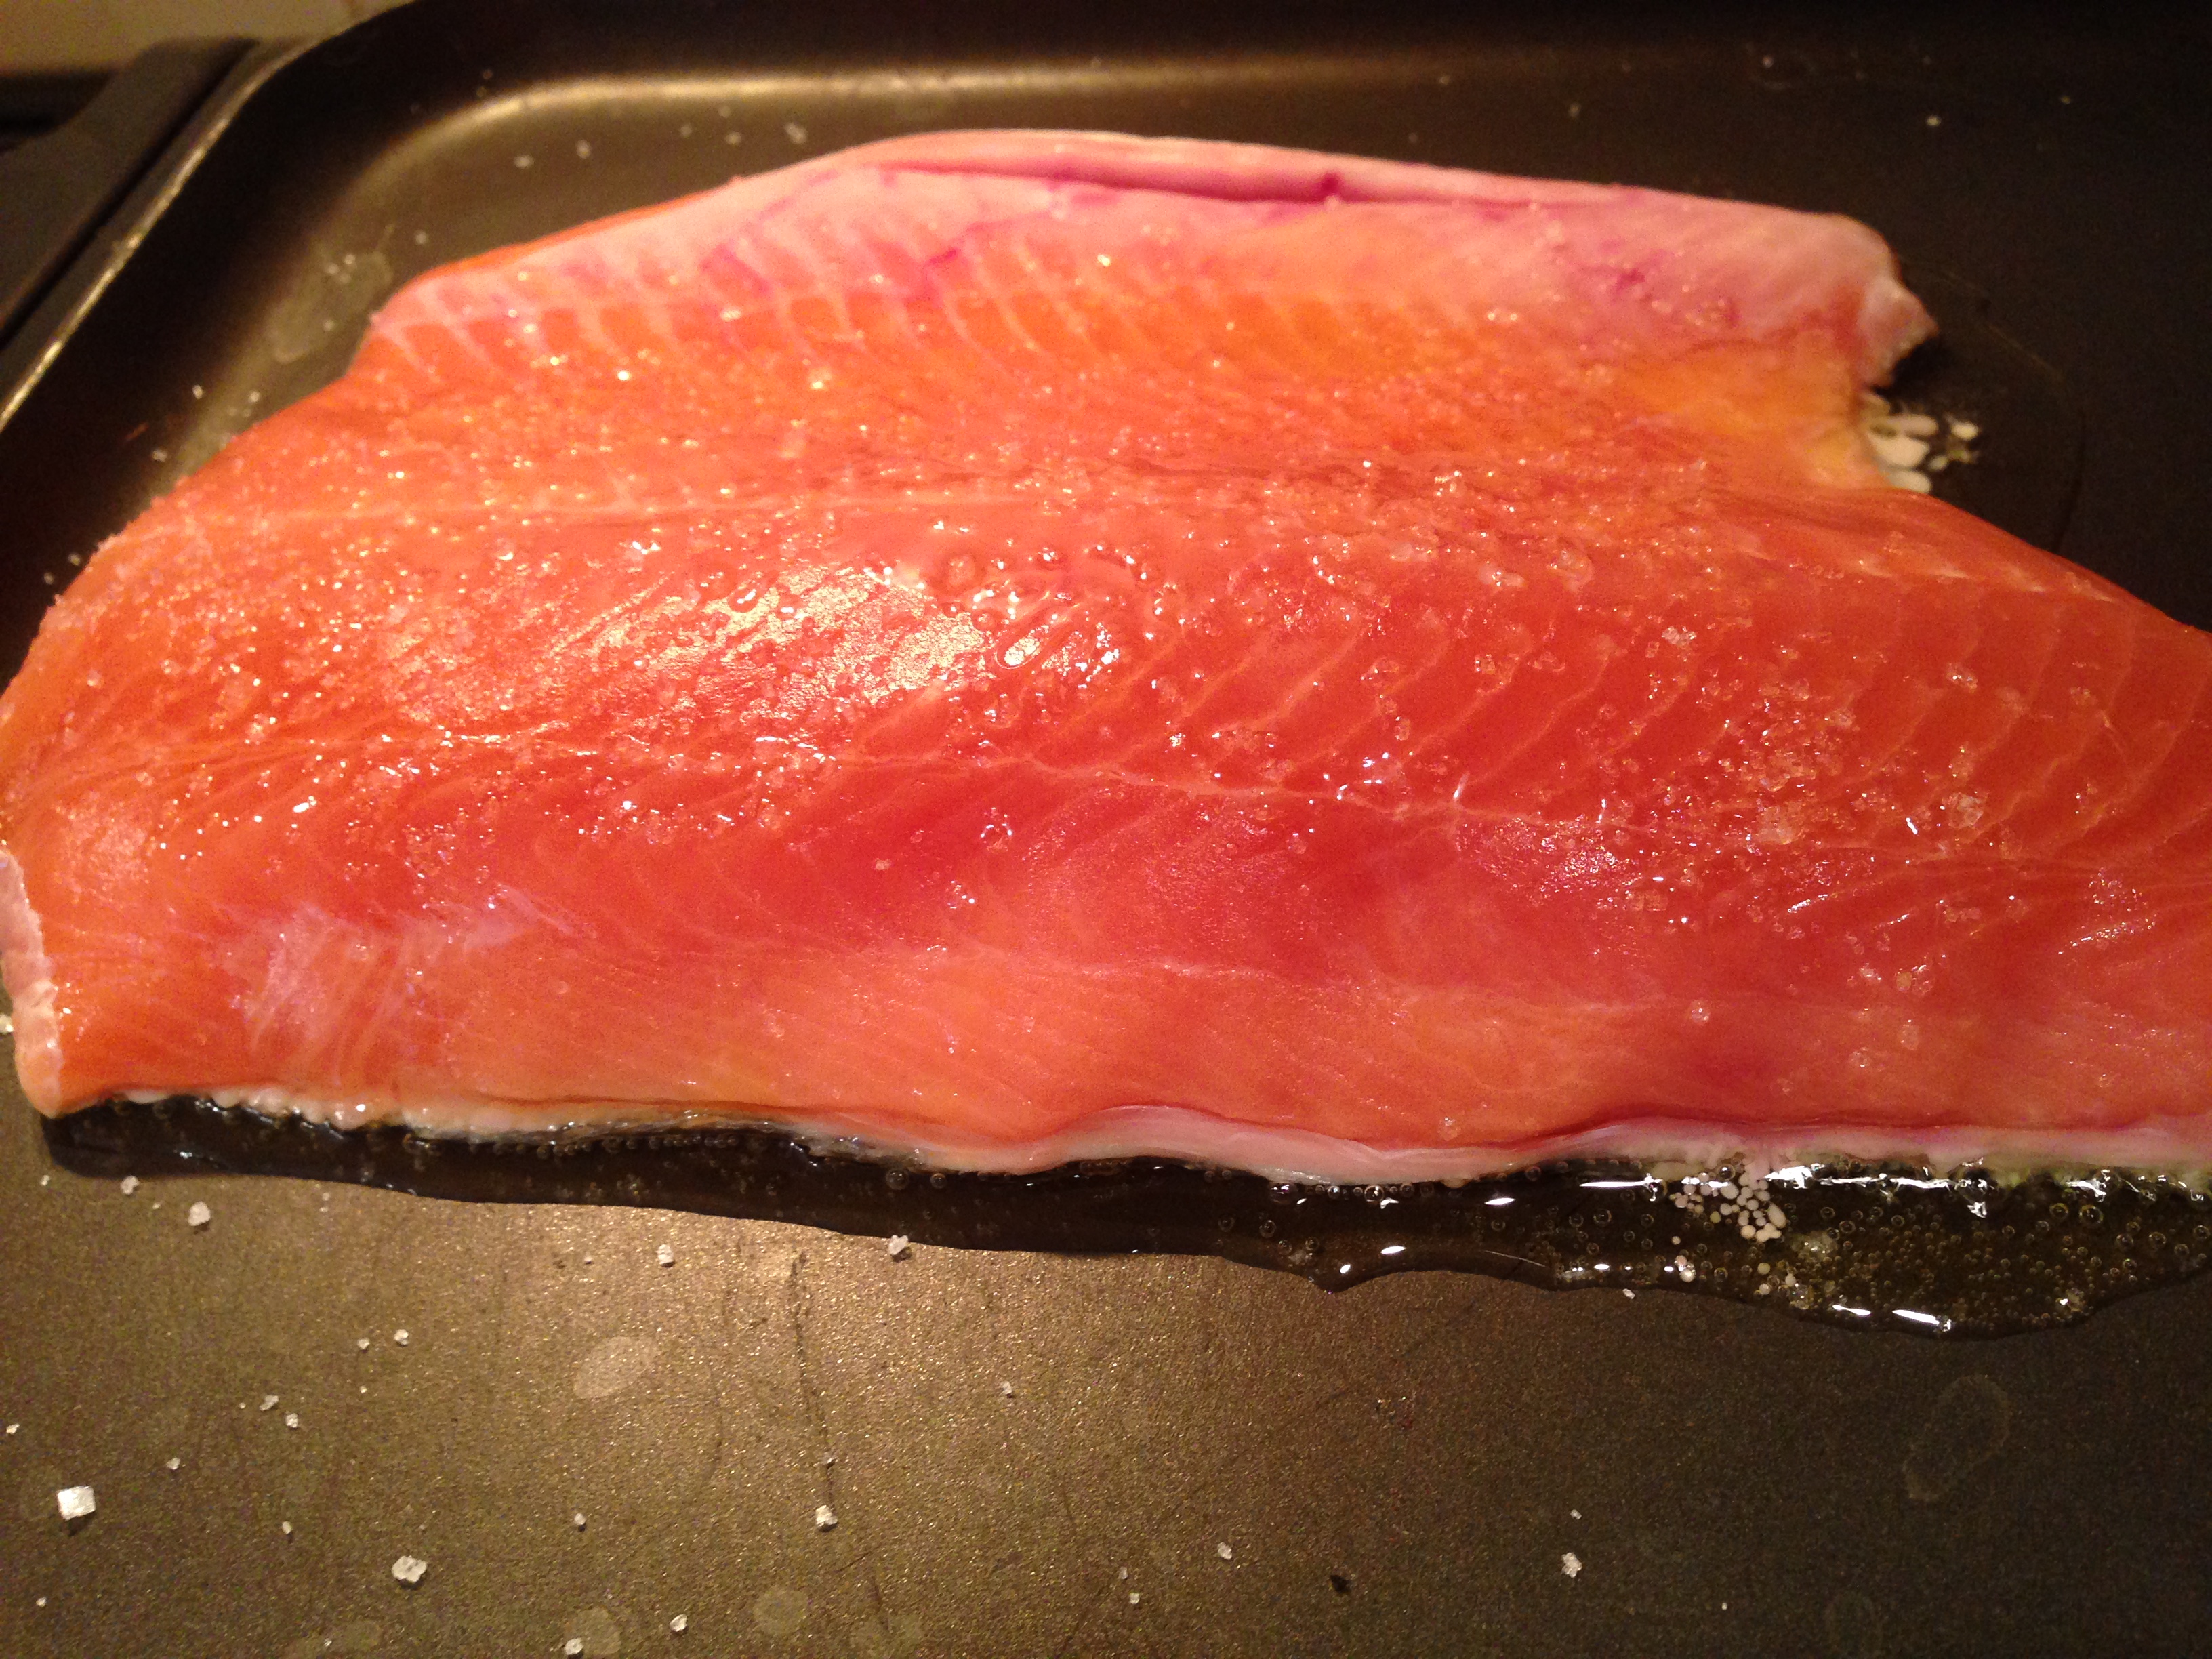
4 fillets of your fish of choice (I used salmon but any would be good)

1/2 cucumber, chopped

4 clementines, peeled and chopped

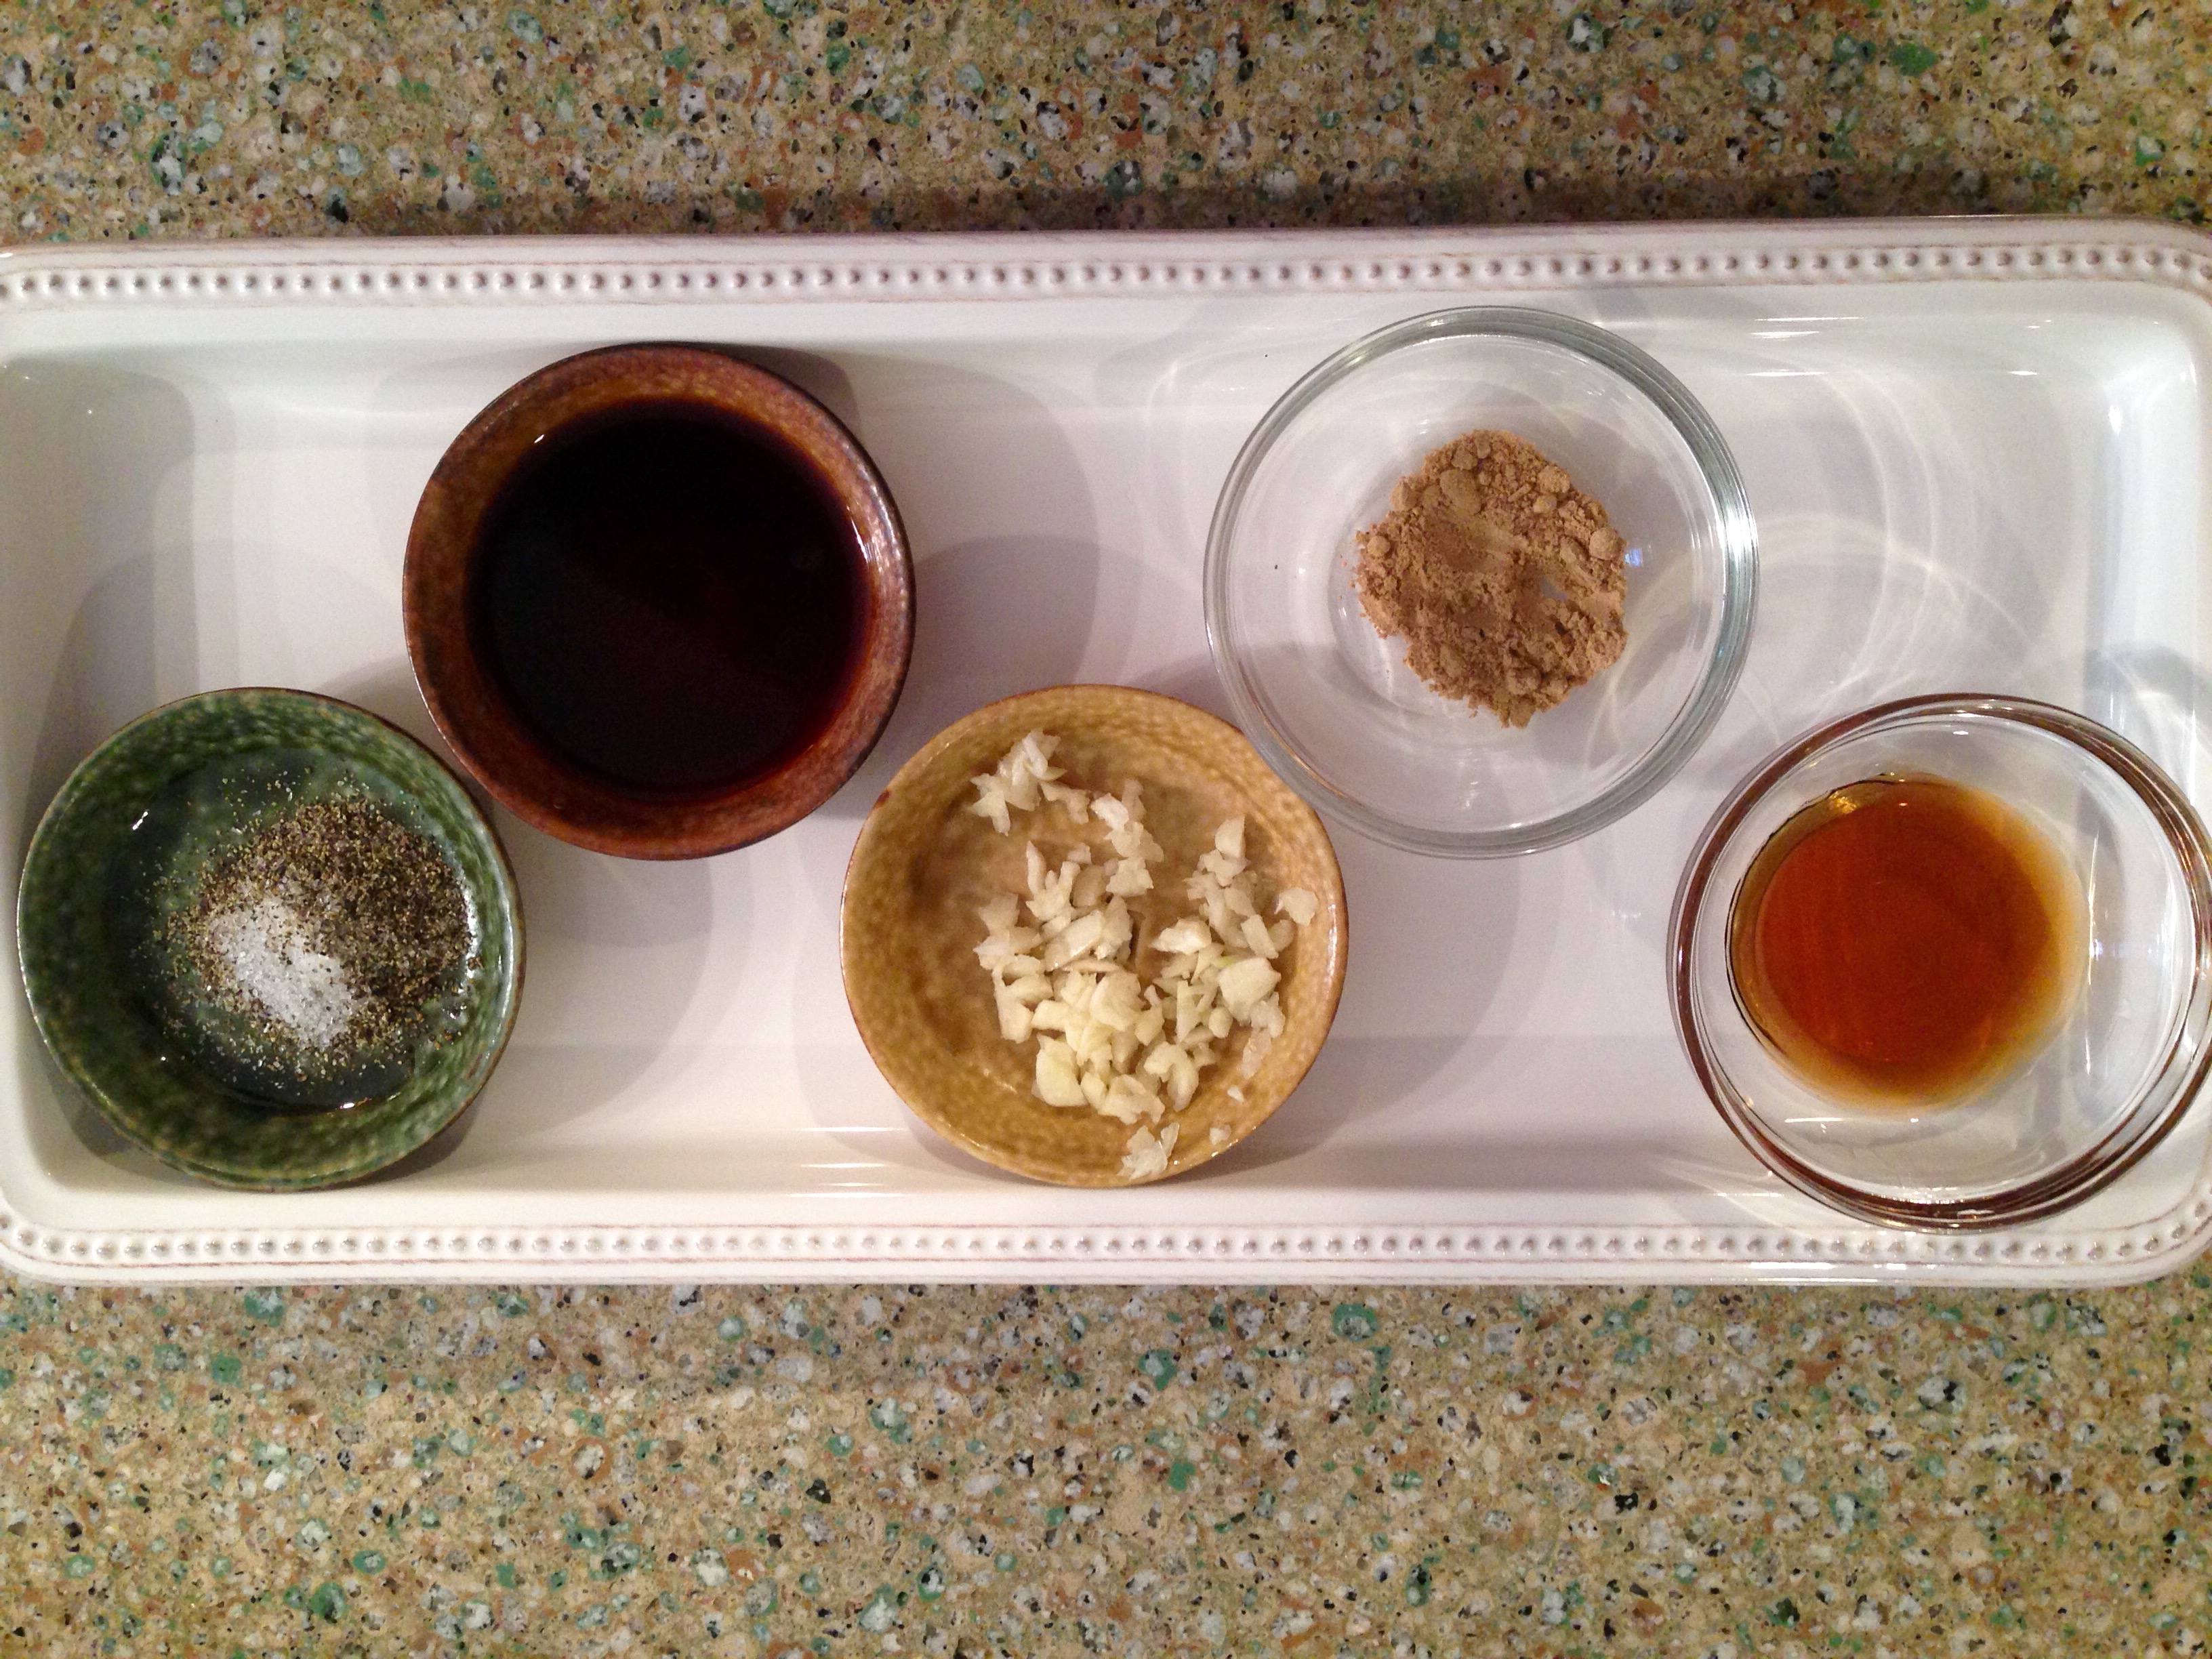
A few dashes of crushed red pepper, to taste

3 shallots, sliced thinly
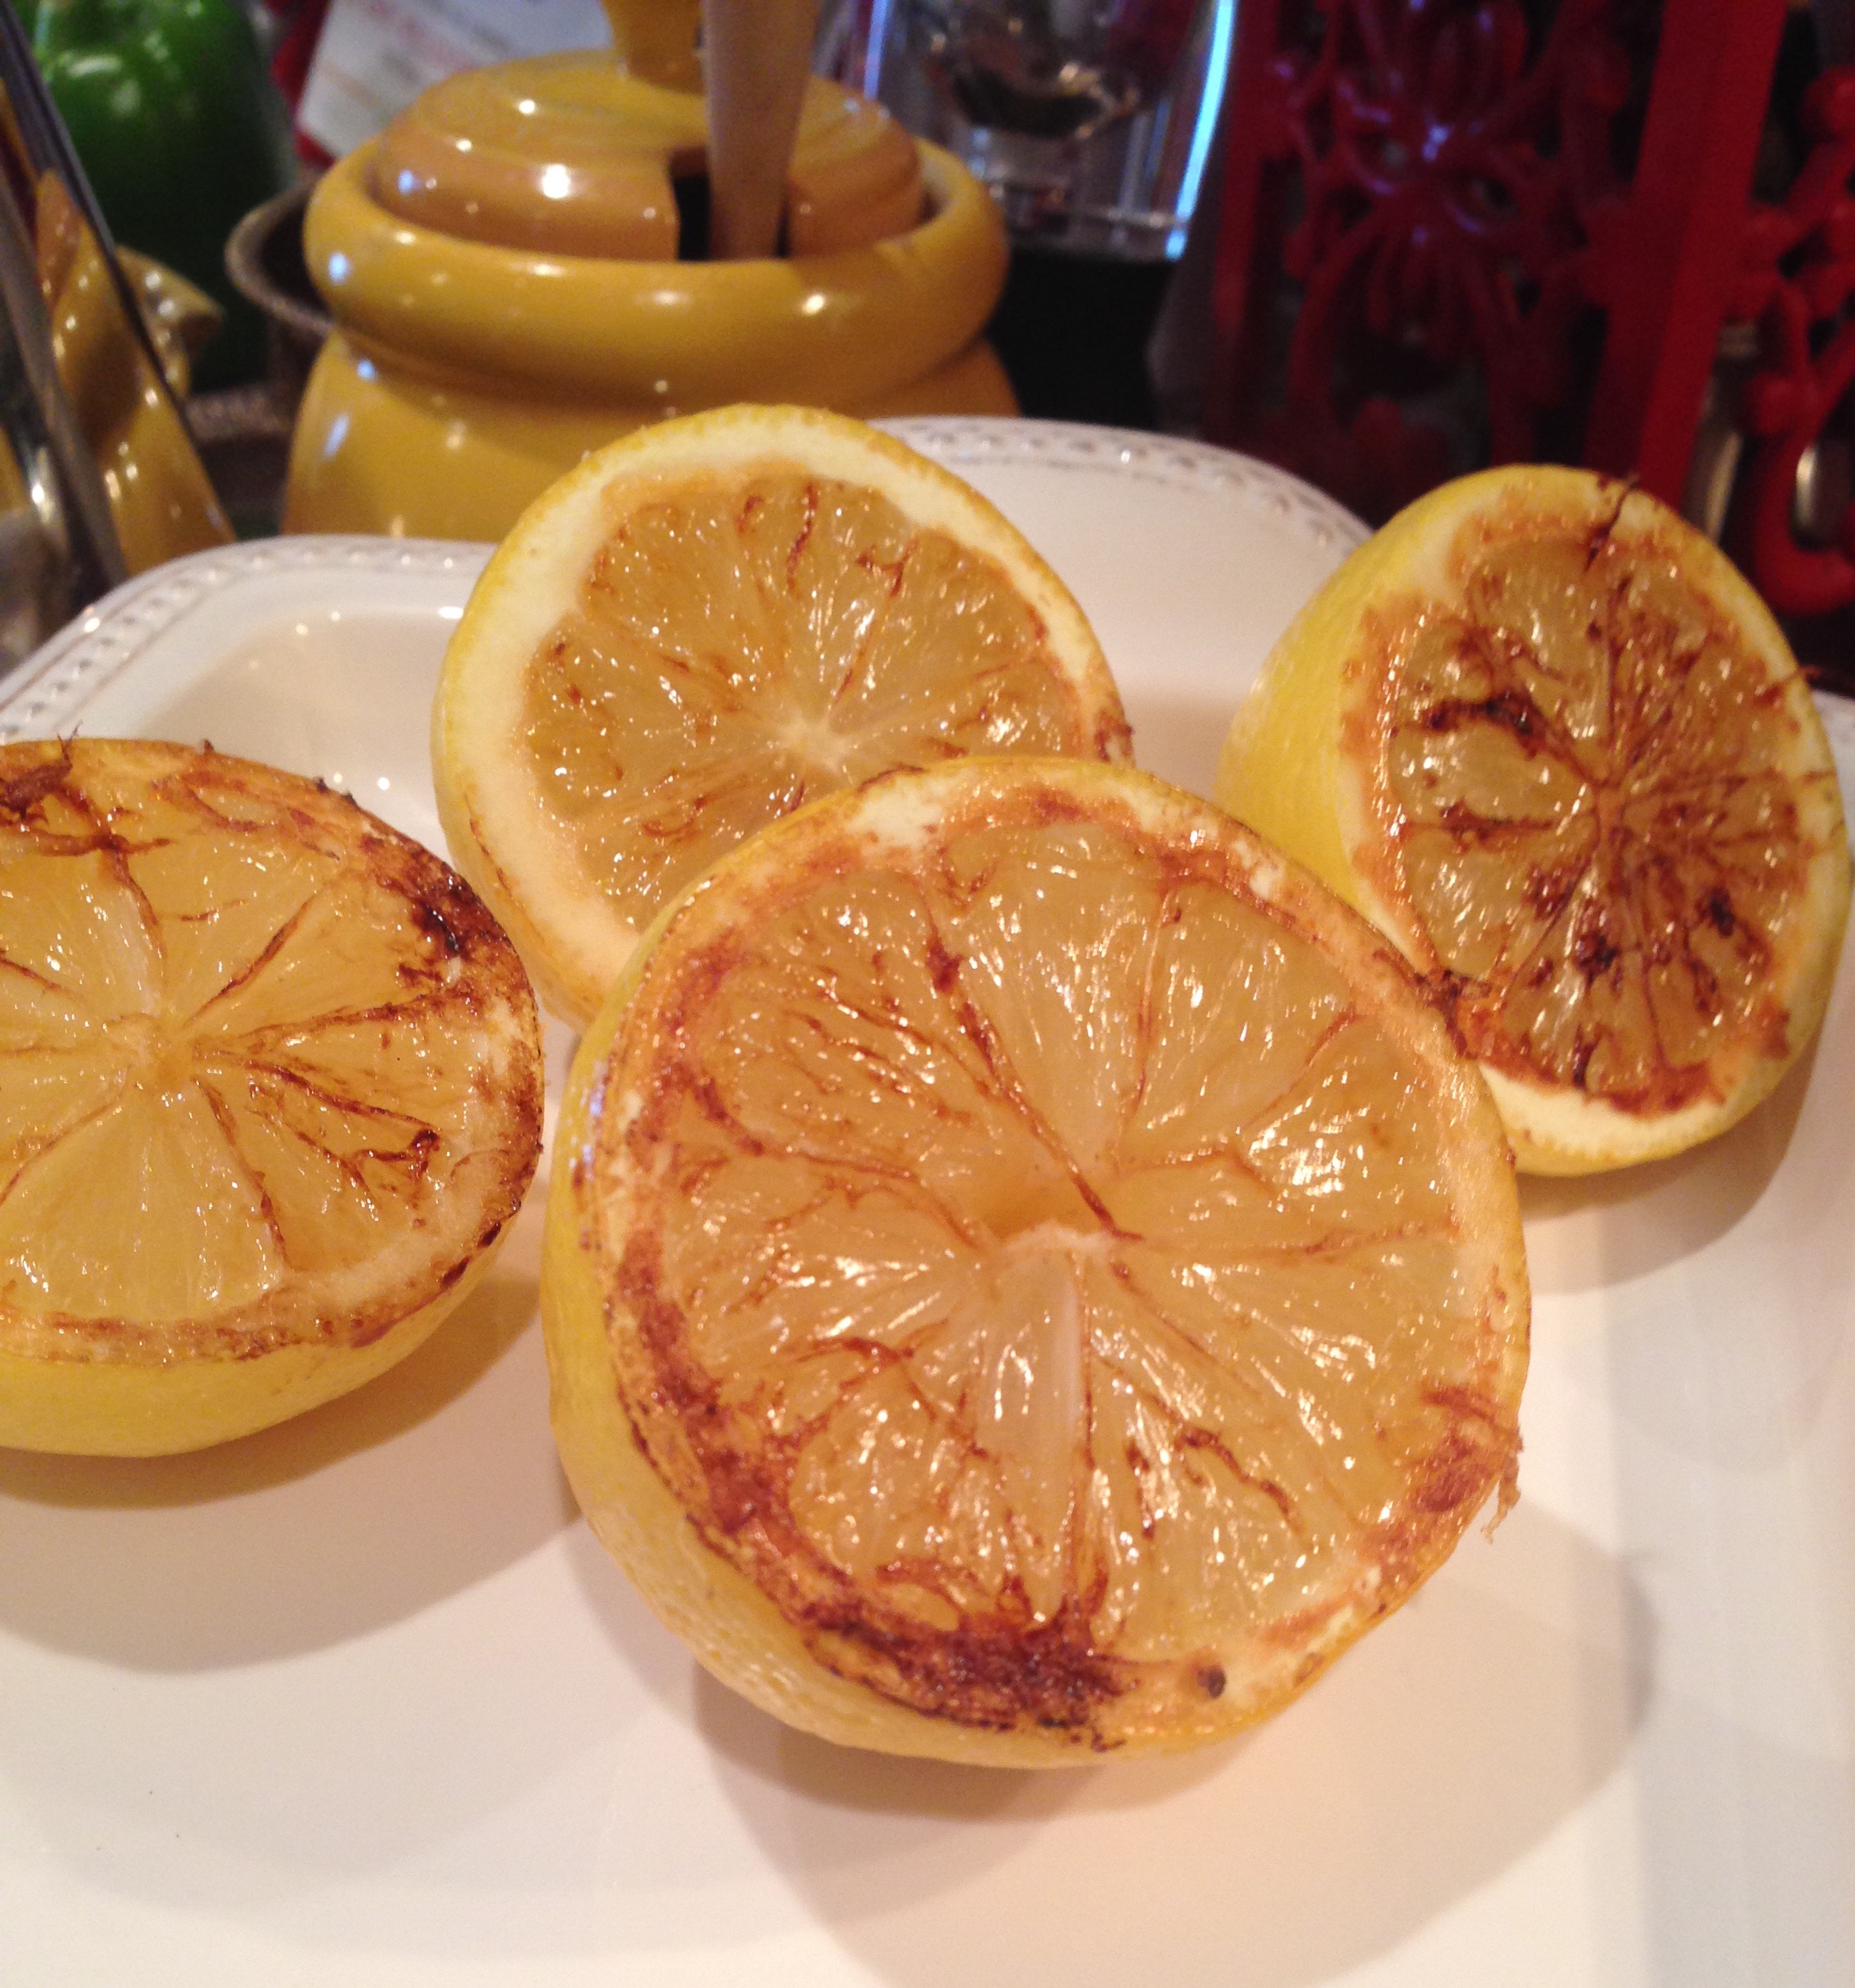
Juice of 1 lemon

Salt to taste (I love course sea salt)

Olive oil

METHOD:

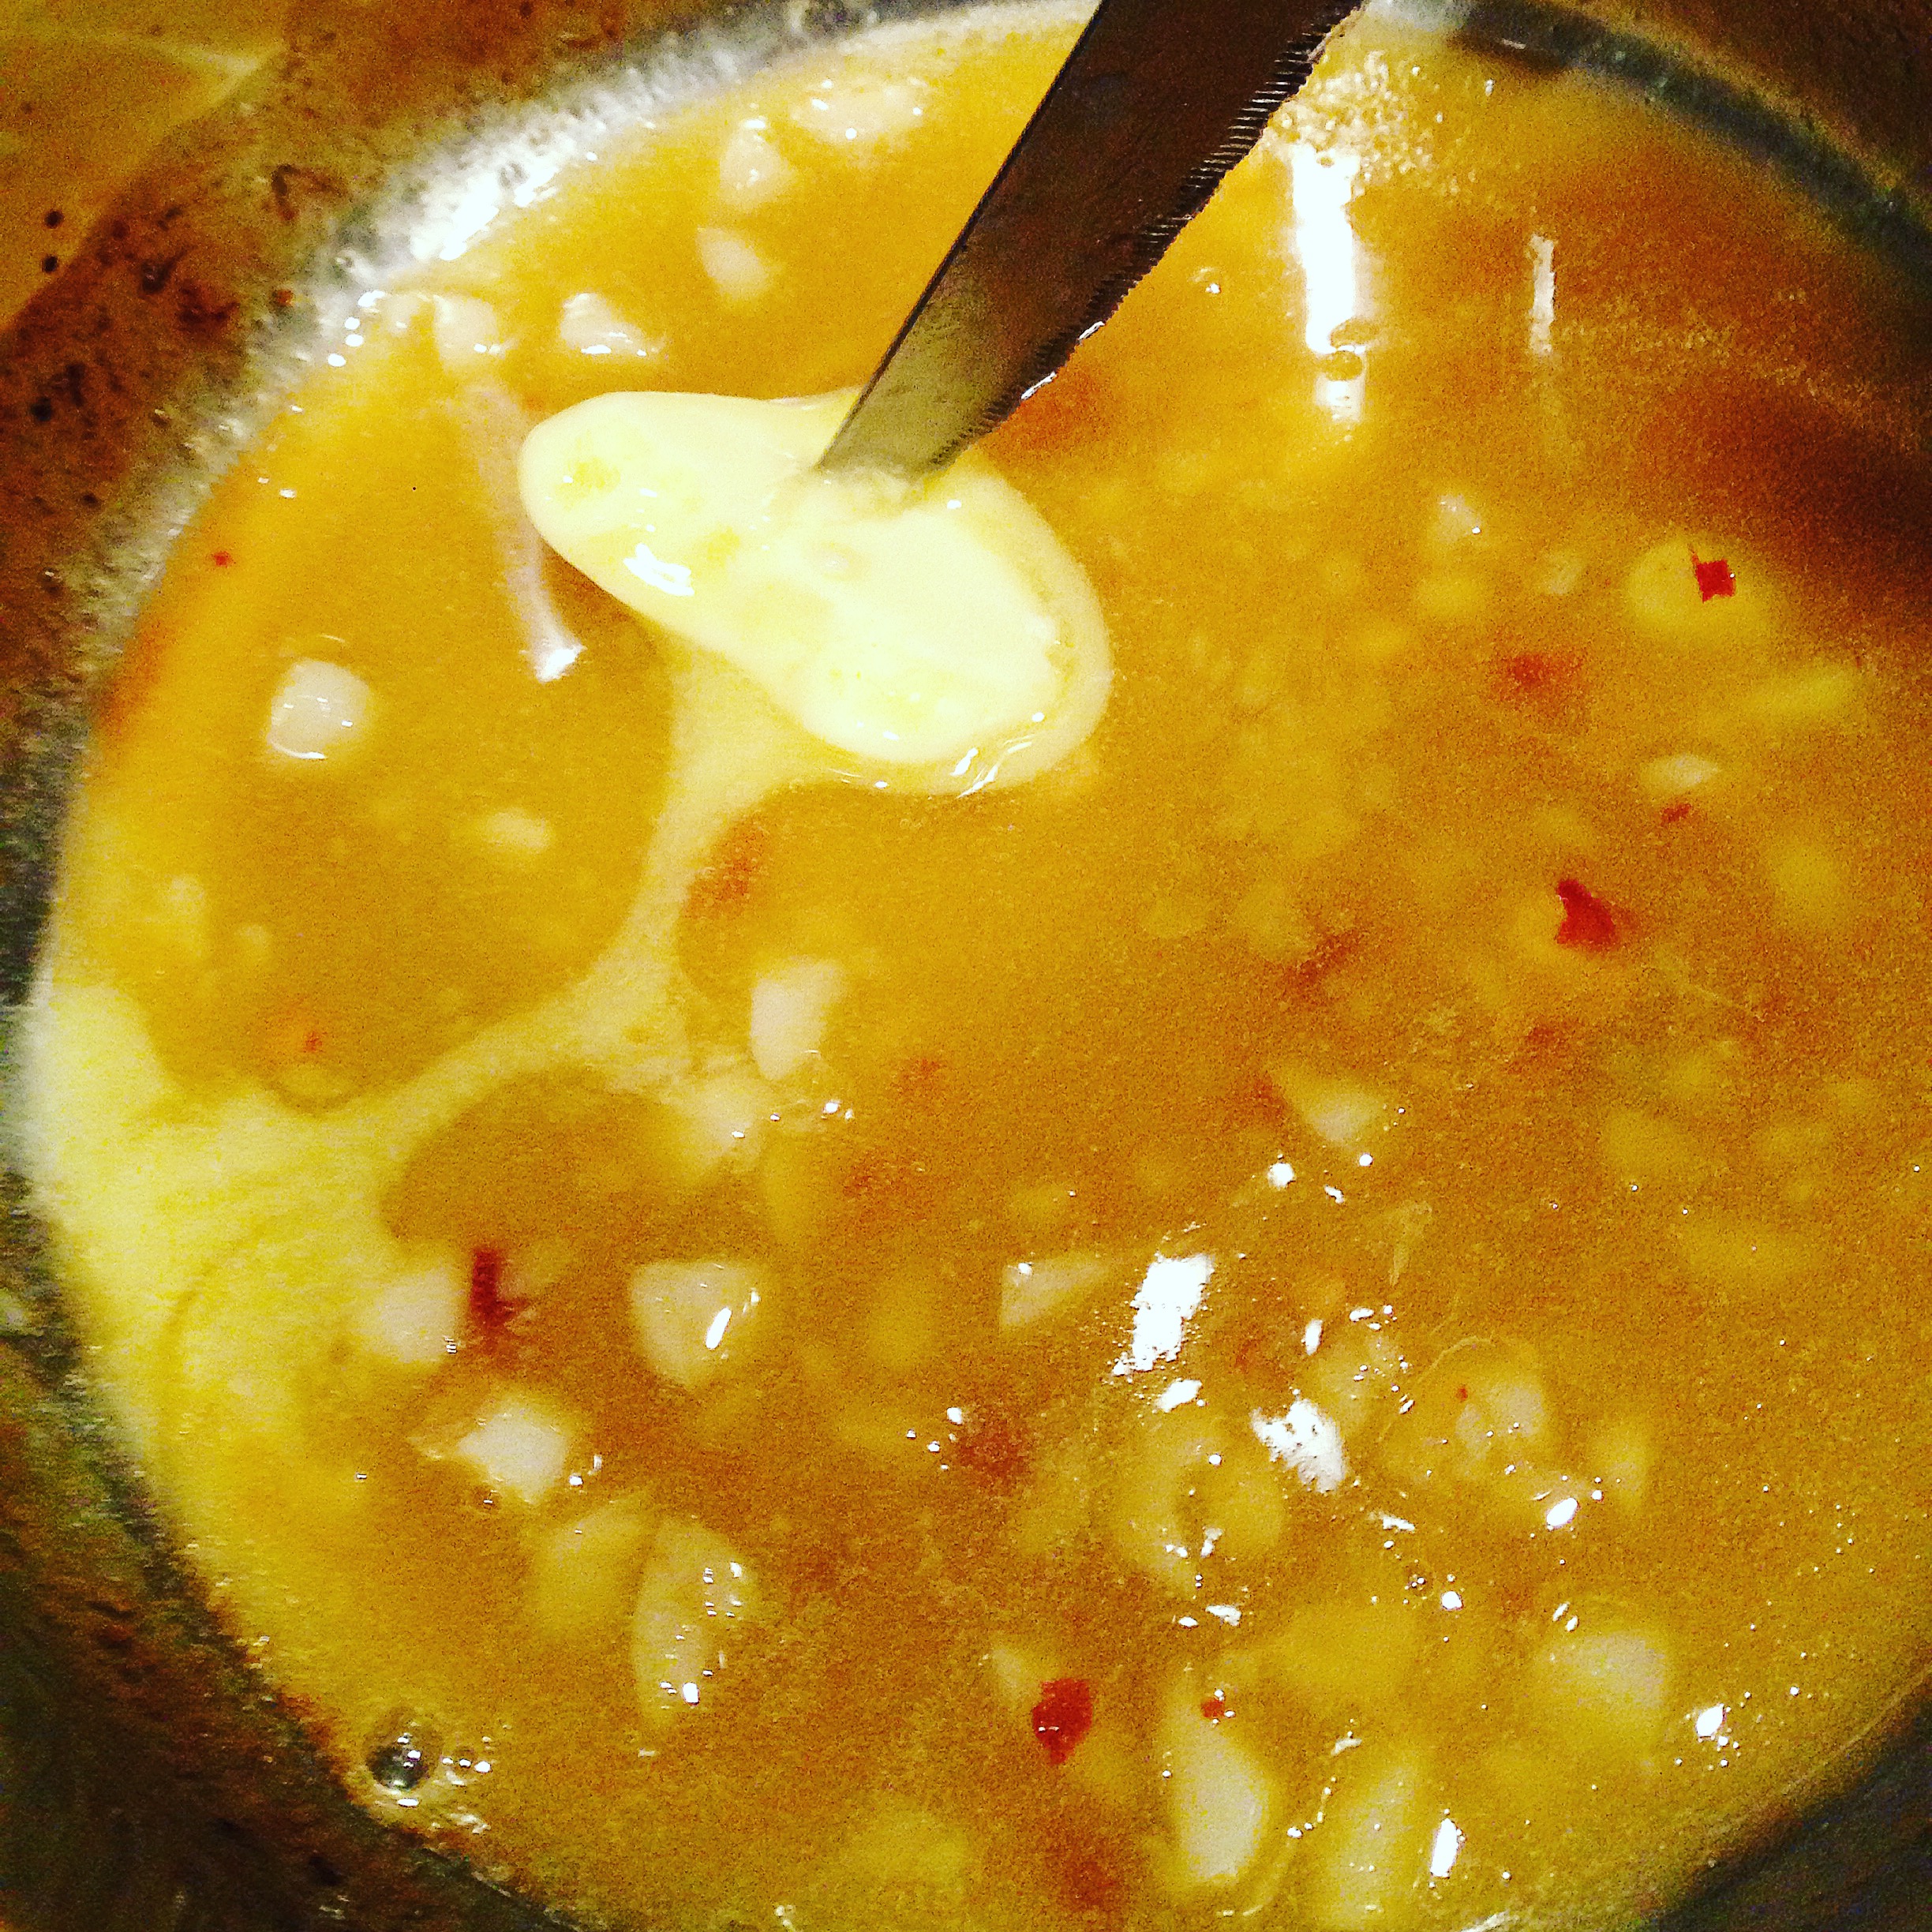
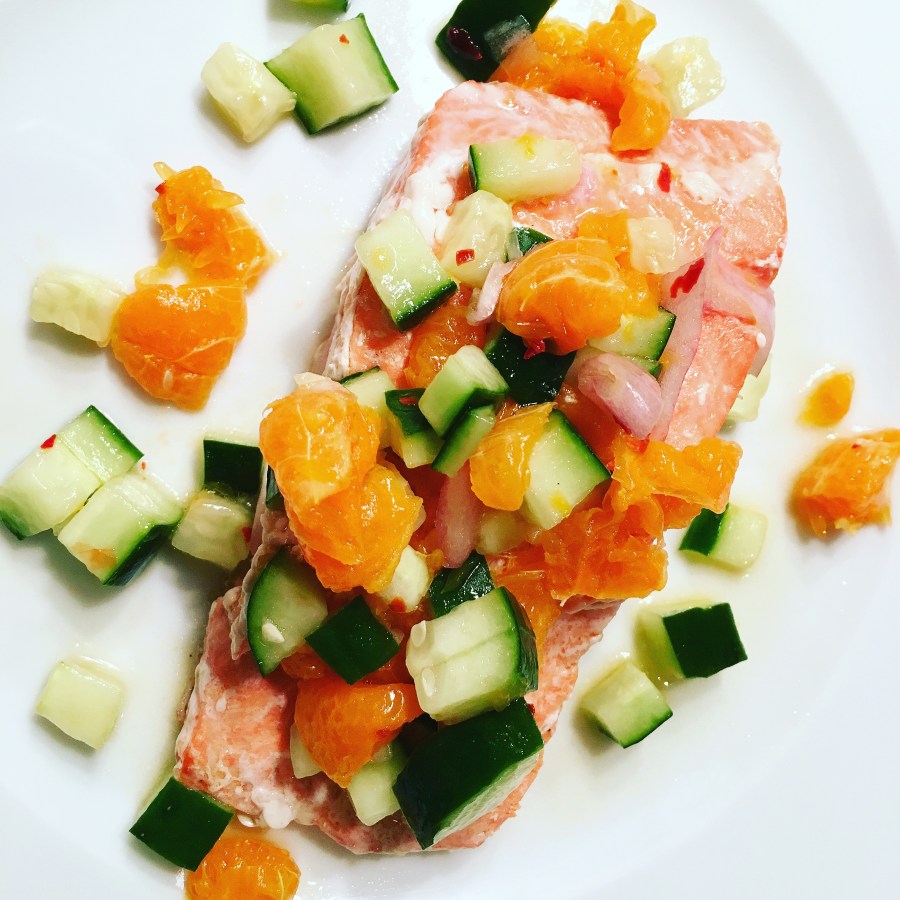
Combine the cucumbers, clementine, chili, shallot, lemon juice in a bowl, add a drizzle of olive oil and a pinch of sea salt, and stir to combine.

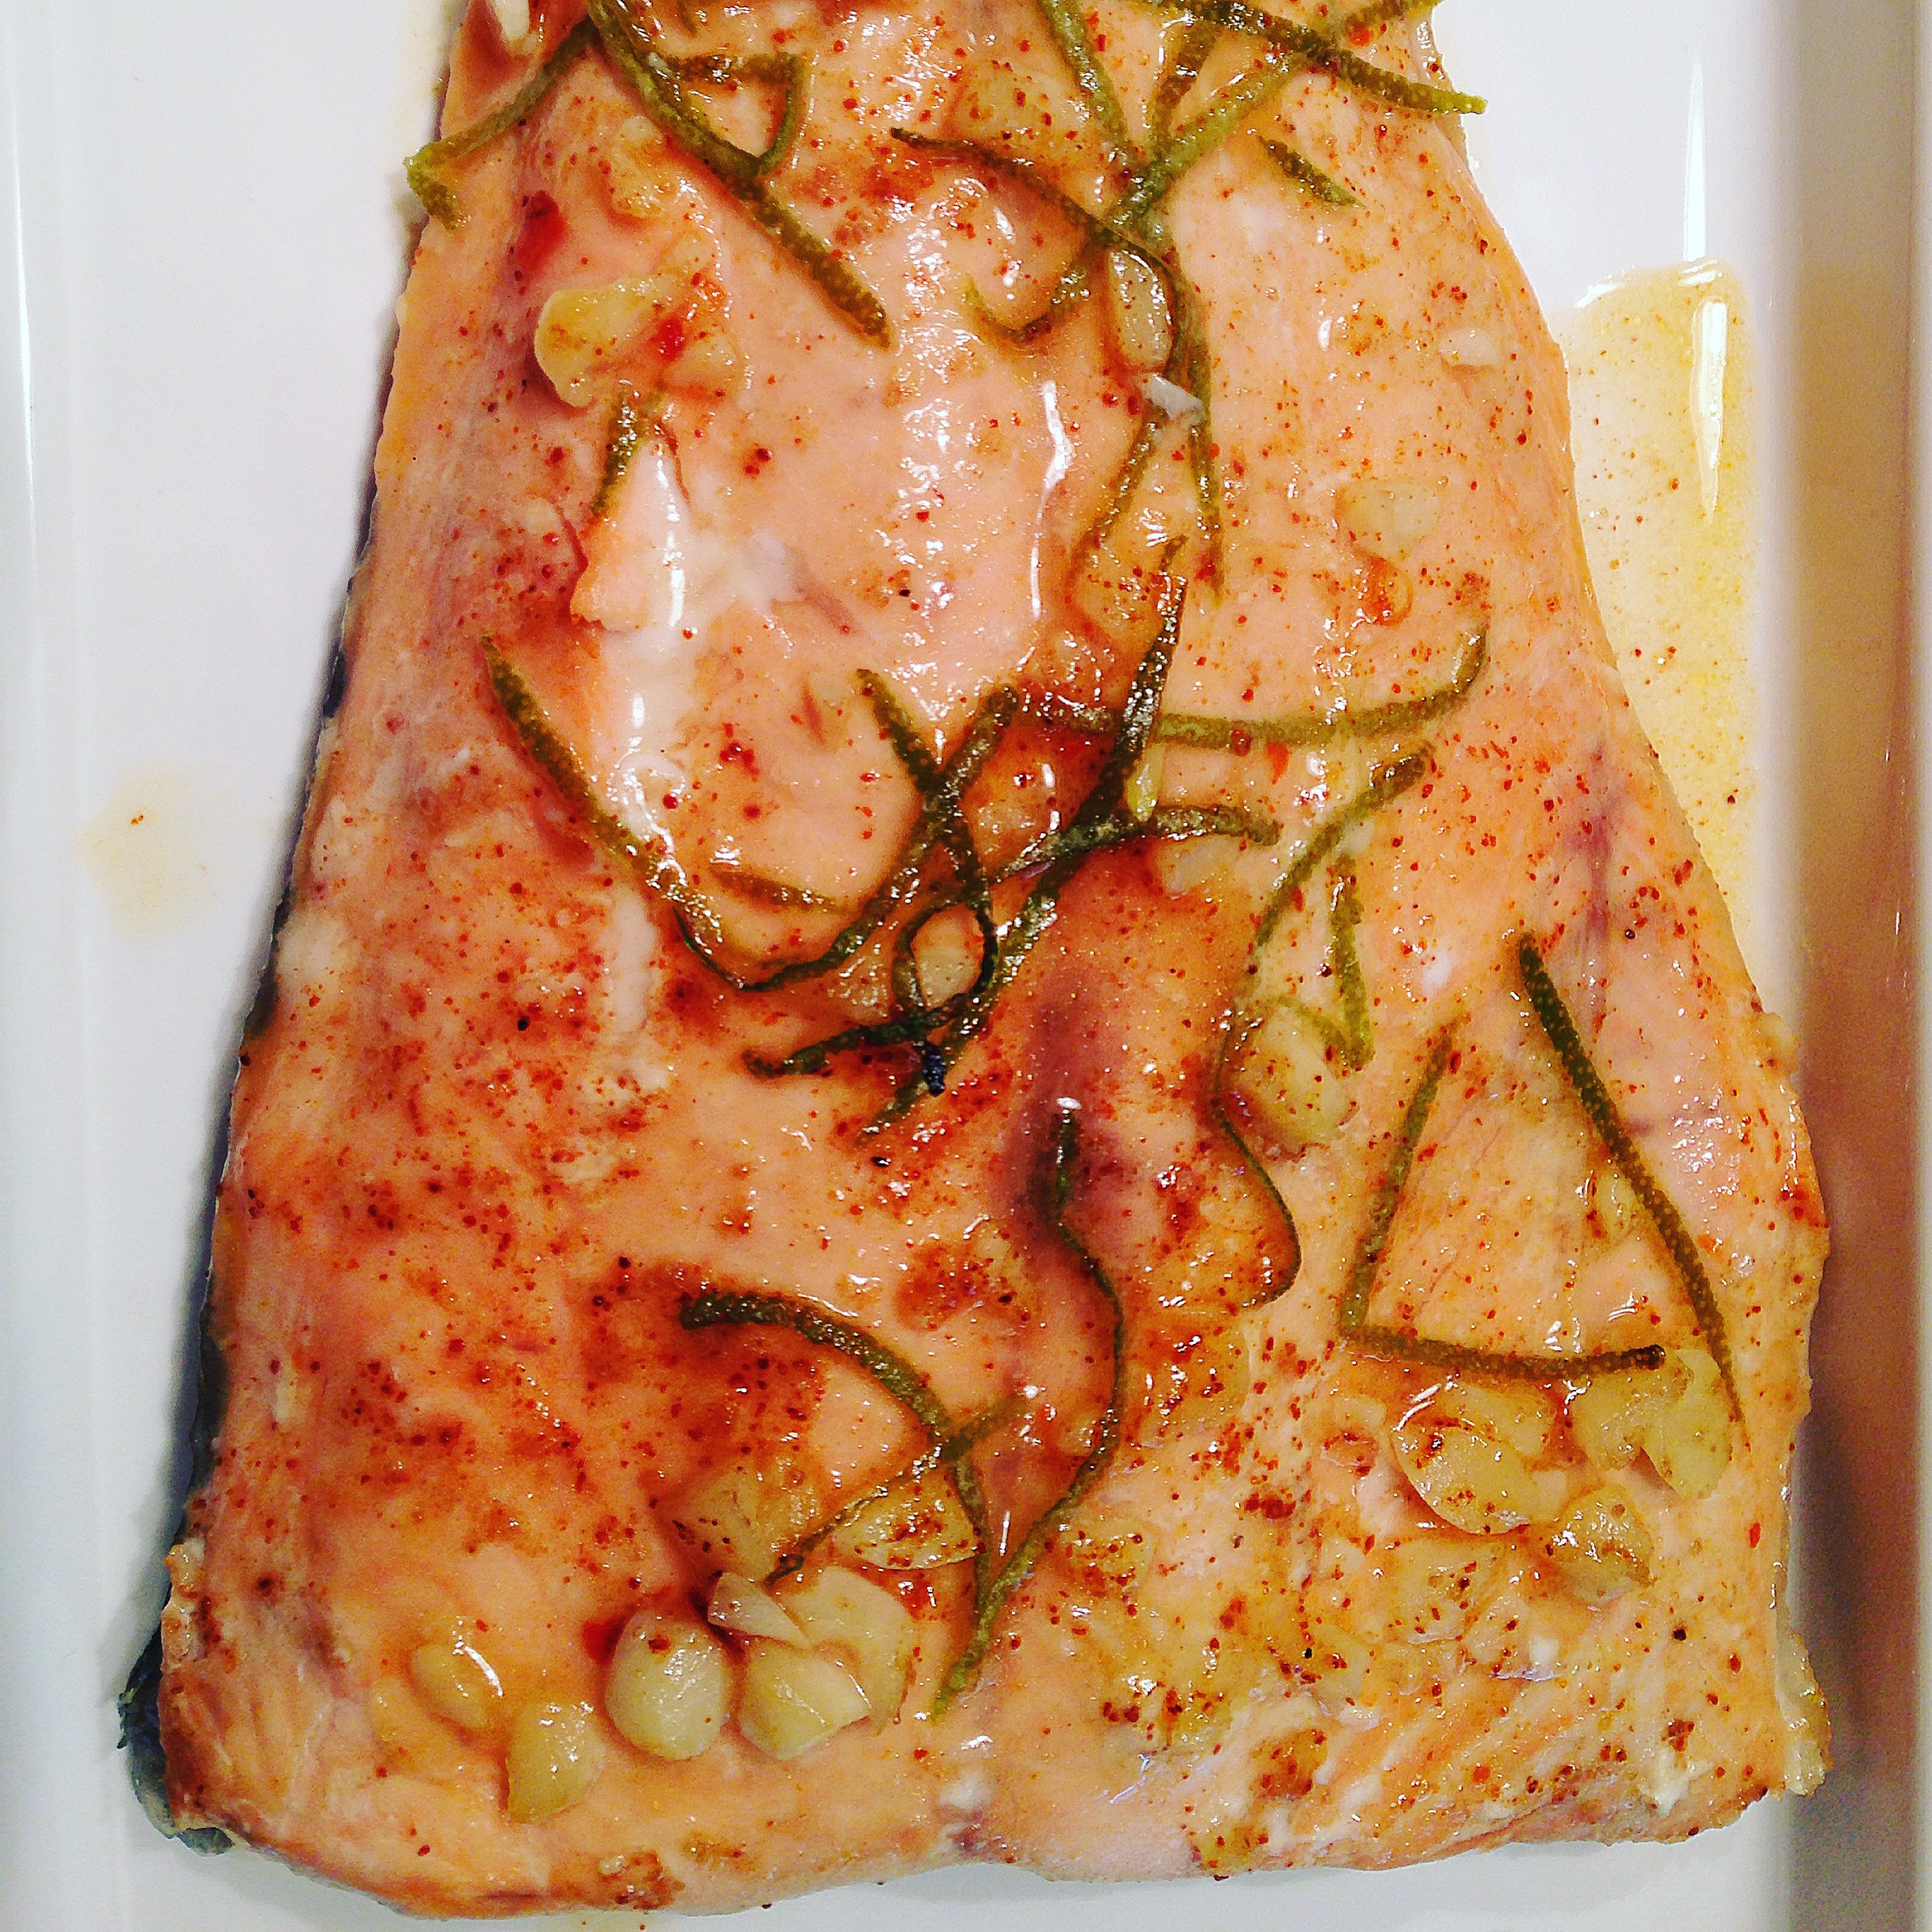
Meanwhile, heat a grill or a grill pan over high heat.  Coat the fish with olive oil and sprinkle with salt.  Grill until firm to the touch, about 4 minutes each side depending on thickness of fish fillets.

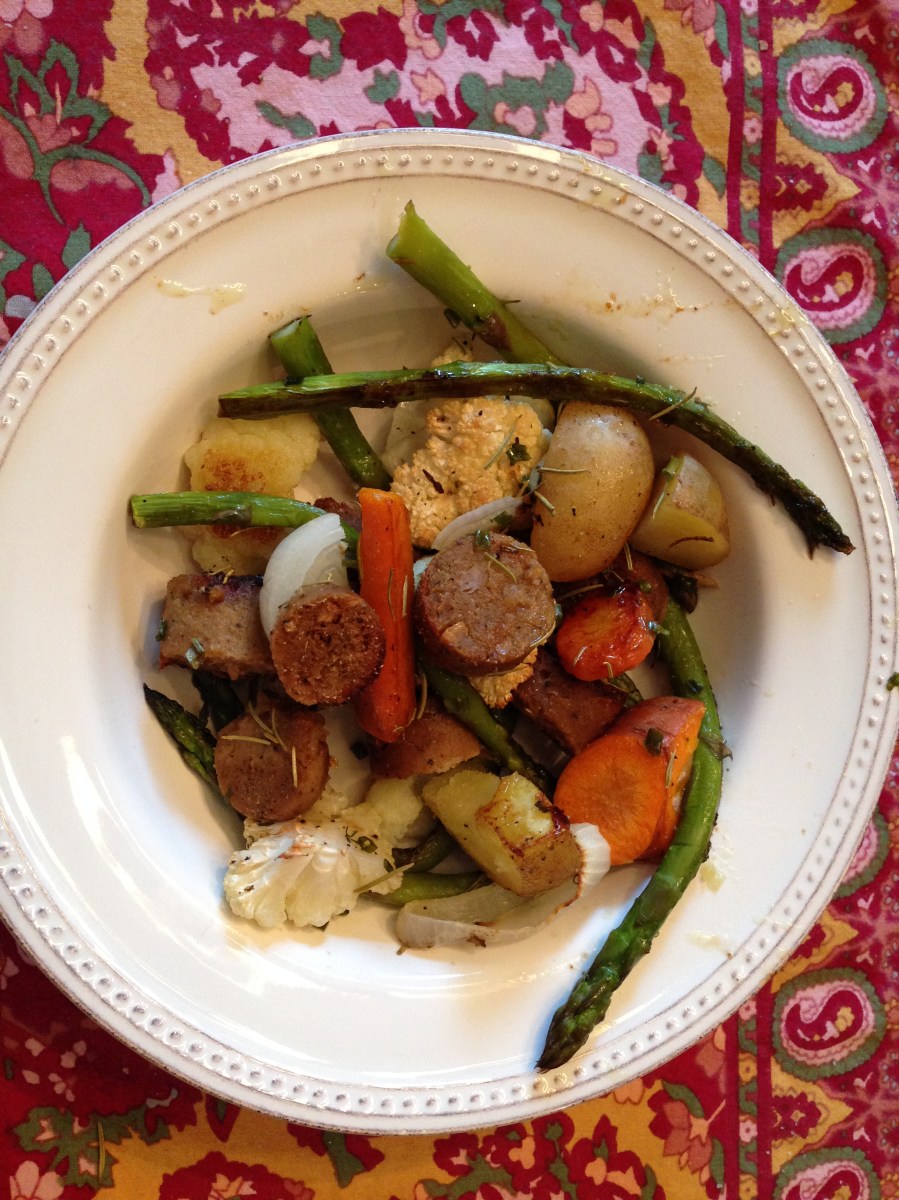
Serve the fish with the salsa.

ENJOY!

Chicken Apple Sausage and Sage Pasta!

chicken apple sausage pasta
Chicken apple and sage pasta

I love pasta.  Everyone loves pasta.  It’s easy to make and there’s countless variations to keep it interesting and fresh.  I make a pasta dish about once a week for my family.  Many times it’s on Monday when we have a busy after-school schedule and I need something easy but still yummy.

The other day I had some chicken apple sausage in the fridge and some freshly picked sage a friend gave me.  I had garlic and shallots and pasta and frozen peas.  I had freshly shaved parmesan.  I knew I could come up with something with all those delicious ingredients.

As the years have passed and I’ve become more comfortable in the kitchen (a lot more comfortable, in fact), I’ve started creating my own recipes.  I might look up another similar recipe to fine-tune cooking temps and times, but I really have started to enjoy putting together my own ingredients and flavors.  For the most part, it has worked.

So, here I am with all these fabulous, simple ingredients.  The following is the recipe I created that was a pretty big hit for the family.  My 11 year old daughter said she prefers the sausage a bit more crispy on the outside (like when I bake it with veggies).  I might let it sit in the pan a bit longer to caramelize next time. But everyone enjoyed it and went back for more.

INGREDIENTS:

1/4 cup olive oil

1 Tablespoon butter

12 oz chicken apple sausage (or your sausage of choosing)

2 Tablespoons ribboned fresh sage (keep it in the freezer to use all year)

4 garlic cloves, minced

1-2 shallots, sliced

1 lb pasta (we had some fall themed pasta from Cost Plus World Market)

1 cup frozen peas

Salt and pepper to taste

chicken apple sausage
Sizzling chicken apple sausage.

METHOD:

Heat olive oil and butter in a skillet till shimmering

Add sage and fry  until crispy.  Remove from pan for later.

Add shallots and sausage and sauté until shallots are soft, add garlic.

Meanwhile, boil pasta according to package instructions, adding the peas in the last minute of cook time.

Drain pasta/peas and return to the pan with sausage and shallots.  Add crispy sage.

Top with freshly shaved parmesan.

White Beans, French Style

white beans french style

It’s been a busy day so far! I just finished my next module for my Nutrition Consultant program which focused on digestion and the digestive organs.  I created two handouts focusing on liver health (eat your fiber, fruits and veggies, and be careful of the medications you take!). I ate a quick lunch of leftovers from the recipe I’m about to give you, as well as a Dr. Praegers Kale Veggie Burger.  I’d say my morning has been pretty productive.  Just don’t pay attention to my poor yellow lab Sammy, who has been literally giving me puppy dog eyes as she sits at the door waiting for a walk.  I’ll get to it, I promise.

Sammy smiling
How can you say ‘no” to this girl when she wants a walk?

On to the white beans! I chose this recipe because it had simple ingredients that I love (garlic, beans, shallots, red wine, thyme) and I figured not only could I serve it to my family as a dinner side dish, but I could also have it for lunch.  Usually my dinner side dishes consist of roasted veggies, brown rice, stuff like that.  I prefer to use my energy on the main dish (i.e.: I’m lazy).  But this recipe looked so easy I decided to try it. As much as I want to despise Gwyneth Paltrow, with her smugness and natural makeup-free beauty and her ability to wear the most ridiculous hats and still look cool, I just can’t hate her recipes.  Not yet, anyway. The beans were yummy and filling.  Full of protein and fiber. And I decided I should use shallots a lot more.  I love the way they take the place of onion while being a little more subtle. NOTE: I doubled the recipe to have leftovers.

WHITE BEANS, FRENCH STYLE

INGREDIENTS:

  • 2 Tablespoons extra virgin olive oil
  • 2 garlic cloves, thinly sliced (add more if you love garlic)
  • Leaves from 4 sprigs of thyme (I used about 1 tsp dried instead)
  • 1 large shallot, peeled and thinly sliced
  • A 14 oz. can of cannellini beans, drained and rinsed
  • Coarse sea salt
  • Freshly ground black pepper
  • 2 tsp. red wine vinegar

METHOD

Slice the garlic and shallots thinly.

shallots and garlic chopped
Sliced shallots and garlic. Don’t dice them. You want the shallots to remain intact a bit.

Meanwhile, heat the oil in a large pan or skillet over medium heat. Add garlic and let cook for a few minutes or until a light golden brown.  Stir occasionally.  Add the thyme and shallot, and cook for a minute or two.

shallots and garlic sauteeing
The smell of shallots or onions and garlic sautéing is one of the best smells I can imagine!

Add the beans and cook, stirring once or twice, for about 5 minutes. Add the salt and pepper to taste, along with the vinegar, and cook for another 5 minutes.

white beans french style
It’s such a pretty photo I put it in twice!

If you reheat the beans, expect them to dry out a bit.  You can add some chicken stock or water to rehydrate.  My husband was a huge fan of these and gave me an actual thumbs up.  The kiddo, who will try anything once but has some texture aversions, didn’t finish hers.

ENJOY!

NEW RECIPE! Chicken & White Bean Chili

chicken chili

I continued to test the recipes from Gwyneth Paltrow’s cookbook It’s All Good this week, landing on the Chicken & White Bean Chili recipe because it seemed simple, approachable, and really tasty.  I make a lot of soups and chilis once the weather starts to cool down.  I usually double the recipe and put some in the freezer (lay flat in a freezer baggie) for a night when I’m too busy or lazy to cook.

Whenever I make a soup or chili recipe, I tend to double the vegetables called for.  It’s such an easy way to get more vitamins, antioxidants and fiber into yours and your family’s tummies.  

The alterations I made to this recipe were:

  1. Add a can of kidney beans to the can of white beans called for.
  2. Use chicken thighs instead of breasts (I find them less dry and more flavorful).
  3. Use a teaspoon of Better Than Bouillon (the vegetable flavor). The recipe calls for the normal chili spices plus salt and pepper.  I found when I tasted the chili it was a bit bland.  Better Than Bouillon is a favorite of mine.  I usually by the organic version and love that I don’t have to keep cans of chicken stock around in my pantry.  It stays good forever and, unlike a half-used container of chicken stock, won’t make you feel guilty every time you see it in the fridge.
  4. Add some of the chicken juice from cooking into the pot with the simmering beans and vegetables. It adds nutrients from the chicken, some depth to the mouth feel (I really hate that term, can we come up with something else collectively?  Comment below with any suggestions!) and adds some yummy chicken flavor.

INGREDIENTS:

1.5 lbs of whatever chicken parts you want (I used thighs, and doubled the amount so I would have leftover roasted chicken to use later in the week)

3 Tablespoons olive oil

Salt (I prefer sea salt but any will do)

Black pepper

2 small yellow onions, diced (about 2 cups)

1 red bell pepper, seeds and stem discarded, diced (about 1 cup)

3 garlic cloves, minced (add more if you love garlic)

3/4 teaspoon ground cumin

1/2 teaspoon chili powder

1/2 teaspoon paprika (the recipe calls for smoked paprika, but either variety is fine)

1 28 oz can of whole peeled tomatoes with their juice

1 14 oz can cannellini or navy beans, rinsed and drained (I added a second can of kidney beans)

Whatever toppings sound good to you (sour cream, cheese, cilantro, diced onion, etc)

METHOD:

  1. Rub chicken with about 1 Tablespoon of olive oil, and season with salt and pepper.  Roast for about 25 minutes at 425 degrees, until just cooked through.
  2. When meat is cooked and cooled a bit, shred the meet with two forks
  3. Measure the spices and combine in a small bowl to add during the next step.
chili spices
Chili powder, smoked paprika, and cumin
  1. Meanwhile, heat 2 Tablespoons of olive oil in a stock pot on medium and sauté the onions, bell pepper, garlic, cumin, chili powder, paprika and a large pinch of salt.  Cook, stirring occasionally, until veggies are softened, about 10 minutes.
chili vegetables
Garlic, red bell pepper and onion waiting for to be sautéed.
  1. Add tomatoes and another pinch of salt and turn up the heat. Bring to a boil and then reduce heat to simmer for about 30 minutes.  Break up tomatoes with a spoon.
  2. Add beans and chicken to the pot (use bouillon now if you wish).  Add about 1/3 cup water or more depending on how thick you want your soup.
  3. Simmer another 15 or 20 minutes before tasting to determine the spices or salt and pepper you want to add.
  4. Serve with toppings

My husband said the chili was “good, but not like oh my God I absolutely love this chili!”.  He thought it needed a bit more chili powder and cumin to make it a true chili flavor and tasted more like a stew than a chili.  My 10 year old daughter told me she likes my ground beef chili more.  That being said, I really thought it was a solid recipe that I would go back to again if I wanted a variation from my ground beef chili that I usually make.

Enjoy!  I can’t wait to hear what you think!

NEW RECIPE and review! Healthy Fruit Crisp

Fruit crisp Gwyneth

If you’ve been reading my blog, you know that I’m cooking my way through Gwyneth Paltrow’s latest book It’s All Good. It’s full of super healthy recipes that look amazing.  I’m approaching my project as a busy mom on a budget who loves to cook.  I sort of feel like Gwyneth doesn’t understand the “on a budget” part of life, so my goal is to determine how approachable her recipes truly are.

Two days ago, I had my next Gwyneth Paltrow recipe lined up to test. It’s her “Flourless Anything Crumble” which consists of 4 cups of any type of fruit, some maple syrup, olive oil, lemon juice, and cinnamon (all things that are affordable and easy to procure). It also called for almond meal and quinoa flakes for the topping rather than the standard oats and flour. I set off for the grocery store and that’s when the wheels came off of this plan. The almond meal flour was $12.00 and the quinoa flakes were $10. There was a time when I would have guiltily spent $22 on ingredients that would have languished in my cupboard long after using them *one time*. Today, however, I decided that Gwyneth Paltrow could take a seat. I decided to still make the crumble because it sounds good and I had the other ingredients. However, I amended the recipe to use oats and flour because a $22 homemade fruit crumble does not figure into my plans or budget. I can imagine the typical household in this country probably feels the same way.

I thought the resulting recipe with my changes was quite good, although much less sweet than a typical crumble.  I used a mixture of frozen peaches and blueberries.  I would highly recommend setting your expectations a little bit low for this and approach it as you would when you eat a piece of fresh fruit with maybe a little added *extra*.  It was indeed quite healthy, tasted yummy, and I even had it the next morning for breakfast.  My 10 year old ate her whole serving with gusto and my husband had two servings and then asked if I could make it sweeter next time.  This isn’t necessarily a dish you would make as a dessert for a special occasion, but perhaps a healthy dessert alternative for a weeknight.

Here’s the recipe, adapted from the original featured in It’s All Good.

Fruit Crumble

Ingredients:

4 cups fruit of your choice (apples, peaches, berries, etc)

4 tablespoons real maple syrup (or more to taste)

1 tablespoon lemon juice

1/4 cup white whole wheat flour or gluten free flour of your choice

1 cup oats (old fashioned or rolled)

pinch of salt (I use sea salt)

1/2 teaspoon ground cinnamon

2 tablespoons olive oil

2 tablespoons butter (or dairy free butter like Earth Balance), cut up into small pieces

METHOD:

Preheat oven to 400 degrees.  Toss the fruit with 2 tablespoons (or more to taste) of the maple syrup and lemon juice.  Spread out into an 8×8 baking dish.  Mix the flour, salt, cinnamon and oats in a large bowl.  Stir in remaining maple syrup and the 2 Tablespoons of olive oil.  Spread the topping on top of the fruit.  Scatter the butter pieces on the top.  Bake until the topping is golden brown and the fruit is bubbling, about 30 minutes. Serve with homemade whipped cream or ice cream for an extra treat.  Or, heat up leftovers in the morning and eat for breakfast with yogurt.

NEW RECIPE! Spicy Chipotle Salmon

Salmon finished chipotle

We all know how good salmon is for us, especially when it’s wild caught off of the coast of Alaska. It’s full of essential Omega 3 fatty acids (the good kind of fat that keeps your brain and heart working well).  It’s high in protein, too.  I make salmon at least once a week and I love trying new recipes to keep it fresh and interesting.

I decided to try this recipe posted by my friend Pronto Pup. He is a much funnier (and profane) blogger than I ever hope to be but he’s also a great cook.  It’s fun to read his cooking blog for new ideas.  He’s got kids around the same age as my daughter, so I get good insights into what recipes might be “child friendly”. My daughter is a pretty adventurous eater but anything spicy still can be hard for her to eat. He observed that this salmon recipe was a bit too spicy for his kiddos so I toned down the crushed red pepper in my version and my daughter really enjoyed it.  I think she prefers my lemon pepper garlic version but she still ate a good amount of this.

The original version is posted here (thanks Little Spice Jar!).

I did one thing slightly different than directed, which was to brush about half of the chipotle sauce onto the salmon before cooking and then reduce the sauce even further on the stovetop to use as a glaze after the salmon was finished.  The glaze was too strong for my daughter but my husband and I really liked it.  It had a full lime/honey/chipotle flavor and added some extra moisture to the fillet.

Butter sauce for salmon
Here’s the sauce as I’m incorporating the butter. It’s really rich and yummy.

The preparation for the salmon is so easy, and cooking it was pretty foolproof.

Salmon waiting to be baked
The salmon prepared with chipotle butter sauce and lime zest. Just wrap it up in the foil and bake in the oven. I love that I didn’t have to clean a roasting dish afterwards.

I usually make a roasted veggie on the side but since I was making dessert (check back for the recipe and review on that!) I felt pressed for time and did corn on the cob and frozen green beans instead.

I will absolutely make this dish again and can’t wait to try tweaking the flavors a bit next time just for the fun of it.

Easy Roasted Sausage and Veggies

sausage veggies from above
Lots of vegetables and a little bit of sausage

You know those nights where you want to make a hearty and healthy dinner for your family, but with minimal effort and fuss?  This is the dish for those nights.  You will want to put it in your weekly rotation.  It’s so versatile because every time you make it, it comes out a little different.  You can experiment with unique spices, veggies, sausages. You can even make it completely vegan with some sausage made from vital wheat gluten (I find mine at Whole Foods).

My friend Linda first told me how she would make this super easy and delicious meal for her two sons and husband on a regular basis.  That same night I went home and make it for my family, and sure enough it was a big hit.  Not only that, but it’s economical as you can use less sausage than if it were the main event.  Save money by using in-season and local veggies (which are always cheaper than meat anyway).

This is what you do.  Go to the store and purchase any pre-cooked sausage that looks good.  I usually buy an organic version of chicken apple sausage since that’s what my 10 year old daughter loves.  But any kind of sausage will do.  Cut it into rounds and place in a rimmed baking sheet.  Forage in your refrigerator and pantry for whatever vegetables you have on hand for roasting (or pick some up when you grab the sausages).  Tonight I used mushrooms, potatoes, asparagus, onions, carrots and cauliflower.  Chop and place the veggies in the same baking sheet, and mix everything up.

Liberally drizzle olive oil over the whole thing.  Season with whatever feels good at the time.  For me it’s always salt, pepper, garlic powder.  Then I’ll add whatever else I feel like, which tonight meant rosemary and chives.

sausage veggies uncooked close up
There’s so many veggies in here!

Stick in the oven at 450 (or lower if you have more than about 45 minutes) to roast. Use a fork in the most dense vegetable from time to time to check doneness.  Serve with warm bread and fruit for a complete meal.

When it’s done, let cool and watch it disappear.  For larger families you may need two or even three baking sheets. One works for my family of three with my husband and daughter always going back for seconds, and we end up with extras to spare for leftovers.

sausage veggies cooked
Sausage and veggies all roasted and delicious.

NEW RECIPE! Grilled Salmon with Grilled Lemon Vinaigrette

I continued making my way through the It’s All Good cookbook this evening with a grilled salmon recipe.  I bought salmon at the farmer’s market  a couple of weeks ago from a man who catches it himself from the waters off of Alaska and packages it right on his boat.  Then it’s flash frozen.  He told me that when I’m cooking it, it should smell like the ocean and not fishy.  Well, he was right.  It smelled fresh and tasted even more delicious.  It was definitely a quality piece of fish.  I served it with roasted Brussels sprouts and quartered potatoes.

salmon grilling
Love the color of fresh salmon

The recipe was so simple even a tween could make it.  I think I’ll be teaching my almost 11 year old this one.

Salmon (the wild-caught kind from the Atlantic ocean has the highest concentration of Omega 3’s) is so healthy for you.  Omega 3 fatty acids are wonderful for heart and brain health.  They also promote  healthy joints and skin, and reduce the risk of heart disease.  According to the American Heart Association, adults should have two servings of omega 3-rich foods per week.

GRILLED SALMON WITH GRILLED LEMON VINAIGRETTE (adapted from the It’s All Good cookbook)

INGREDIENTS:

  • Four 6-oz salmon fillets or one large fillet of equitable size
  • 2 T olive oil for grilling, plus 1/2 cup for the dressing
  • Sea salt
  • 2 lemons, cut in half
  • 2 tablespoons fresh chopped parsley or cilantro
  • 2 tablespoons chopped chives (I like the Lighthouse brand of dried chives in the off-season)
  • Black pepper
  • Garlic powder

METHOD:

  • Heat a grill pan over high heat.  Add the fish, skin side down and drizzle with the 2T of olive oil. Sprinkle with salt and garlic powder.
  • Cook until firm, about 4 minutes on each size.  After you flip the first time, add some fresh black pepper and more salt and garlic powder.
  • At the same time, grill the lemons, cut side down.  Watch them and remove when they are softened and the flesh has darkened.
  • When the salmon is done, transfer to a platter and let rest.
  • Squeeze the grilled lemons into a bowl that already contains the 1/2 c olive oil and chopped herbs.
  • Serve salmon with the dressing on the side
lemon grilled
I’ve never grilled lemons before but I love the sweetness they take on.
roasted veggies
It’s hard to go wrong with simple roasted potatoes and Brussels sprouts.
Salmon plated
The finished meal.

I think we will have to make the granola next — it’s back-to-school and we are needing some quick and healthy breakfast options.

Until next time!

NEW RECIPE! Easy Garlicky Mustard Vinaigrette

garlicky mustard vinaigrette

Good quality salad dressing is one of those recipes that is just so easy to make, and so darn expensive to buy at the store.  Most store-bought salad dressings have unnecessary ingredients and fillers, not to mention lower quality ingredients than what you probably have on hand in your kitchen and pantry.

This Easy Garlicky Mustard Vinaigrette is a great recipe to start with if you are new to making salad dressings or you just feel like having a simple vinaigrette.  It’s almost always in my refrigerator.

Every ingredient in this dressing is healthful, and it is full of good fats (olive oil) and possible cancer prevention (garlic, mustard seeds and vinegar).

INGREDIENTS:

½ cup olive oil

2 tablespoons rice wine vinegar (you can substitute any vinegar you like here)

1 teaspoon whole grain mustard

¼-1/2 teaspoon salt (to taste)

1 clove garlic smashed with the flat side of a chef’s knife

Black pepper to taste

METHOD:

Combine all ingredients in a jar with a lid and shake vigorously until combined.  When the dressing has the intensity of garlic taste you desire, remove the piece and discard. When you refrigerate this dressing, it will likely turn into a solid.  Simply remove from the refrigerator about 1/2 hour before using, or run under warm water. It will last about a week or so in the fridge.

Japanese Meatballs — Review and Recipe

meatballs and sauce

As you might already know, I’ve committed to cooking my way through Gwyneth Paltrow’s newest cookbook It’s All Good: Delicious, Easy Recipes That Will Make You Look Good and Feel Great. This, by the way, is a huge statement.  These recipes will make me LOOK GOOD?  AND FEEL GREAT!? I feel like I should take before and after photos or something.

We last made Vegetable Potstickers that were a huge hit.  We ate those up very quickly.  To summarize the experience: they weren’t super difficult to make (although they weren’t easy either) but were very messy.  I was looking forward to making the Japanese Meatballs because they looked much easier and less messy to make.  Plus we like meatballs.

With some help from my blog readers, I decided that I am allowed to make substitutions to recipes as I see fit.  My good friend Becky pointed out that I was actually doing my readers a service by suggesting substitutions and tweaks that other busy people might also appreciate.  Take, for instance, the Chinese Five Spice Powder called for in the dipping sauce.  I really dislike the taste of this particular spice blend.  My sister in law told me that she hadn’t ever heard of it and could I please recommend something different.  I’m thinking that a lot of other people probably don’t have it on hand.  So, I made the Hoisin Sauce without the spice powder thinking that I could taste it and add something back if I thought it needed it.  Turns out the Hoisin Sauce tasted phenomenal without it.  So, there you go. Another substitution came in the form of using turkey rather than chicken, because the grocer was out of ground chicken.

Here’s the recipe, adapted:

MEATBALLS

1 lb ground turkey or chicken (or beef or lamb or any combo you prefer)

1/2 teaspoon salt (I like sea salt)

1/2 teaspoon pepper (Gwyn would say freshly ground, I say use whatever)

1 garlic clove or more if you love garlic, finely minced

1/2 teaspoon ginger powder or 1 teaspoon fresh grated ginger

1 tablespoon soy sauce (low sodium if possible)

2 teaspoons real maple syrup

meatball spices
Look at these beautiful spices and ingredients.

METHOD:

Mix all ingredients in a bowl with your hands and form into small balls.  Bake at 400 degrees for about 20 minutes but keep an eye on them.

Hoisin Sauce (recipe below)

1 tablespoon canola oil

1 garlic clove, minced

1/4 cup miso paste

1/4 cup real maple syrup

2 tablespoons rice vinegar

METHOD:

Heat oil in small saucepan over medium heat, add garlic and cook about 30 seconds.  Add the rest of the ingredients and whisk to combine.  Bring to a simmer and cook, whisking constantly for a couple of minutes.  Let cool and serve.

A couple of notes about the meatballs: there are no bread crumbs in there.  Gwyneth is gluten-free (of course she is.  I mean, obviously) So when you are shaping them they have a very soft, sticky, almost doughy consistency.  See?

uncooked meatballs
Uncooked meatballs

Not to worry, they bake up very nicely.  The recipe states you can bake, pan fry, grill or however-you-want these meatballs but gave no directions for any cooking, so I looked it up and decided I’d bake mine at 400 degrees for about 20 minutes.  Check every few minutes to make sure they aren’t being overcooked. 

The result was that my family really enjoyed them, the sauce was my favorite part (visually, it isn’t beautiful — My daughter and I thought it looked like apple sauce, and my husband assumed it was a peanut sauce). I would definitely make these again and double or triple the recipe for freezing.

Stay tuned for the next recipe!