NEW RECIPE! Chicken & White Bean Chili

chicken chili

I continued to test the recipes from Gwyneth Paltrow’s cookbook It’s All Good this week, landing on the Chicken & White Bean Chili recipe because it seemed simple, approachable, and really tasty.  I make a lot of soups and chilis once the weather starts to cool down.  I usually double the recipe and put some in the freezer (lay flat in a freezer baggie) for a night when I’m too busy or lazy to cook.

Whenever I make a soup or chili recipe, I tend to double the vegetables called for.  It’s such an easy way to get more vitamins, antioxidants and fiber into yours and your family’s tummies.  

The alterations I made to this recipe were:

  1. Add a can of kidney beans to the can of white beans called for.
  2. Use chicken thighs instead of breasts (I find them less dry and more flavorful).
  3. Use a teaspoon of Better Than Bouillon (the vegetable flavor). The recipe calls for the normal chili spices plus salt and pepper.  I found when I tasted the chili it was a bit bland.  Better Than Bouillon is a favorite of mine.  I usually by the organic version and love that I don’t have to keep cans of chicken stock around in my pantry.  It stays good forever and, unlike a half-used container of chicken stock, won’t make you feel guilty every time you see it in the fridge.
  4. Add some of the chicken juice from cooking into the pot with the simmering beans and vegetables. It adds nutrients from the chicken, some depth to the mouth feel (I really hate that term, can we come up with something else collectively?  Comment below with any suggestions!) and adds some yummy chicken flavor.

INGREDIENTS:

1.5 lbs of whatever chicken parts you want (I used thighs, and doubled the amount so I would have leftover roasted chicken to use later in the week)

3 Tablespoons olive oil

Salt (I prefer sea salt but any will do)

Black pepper

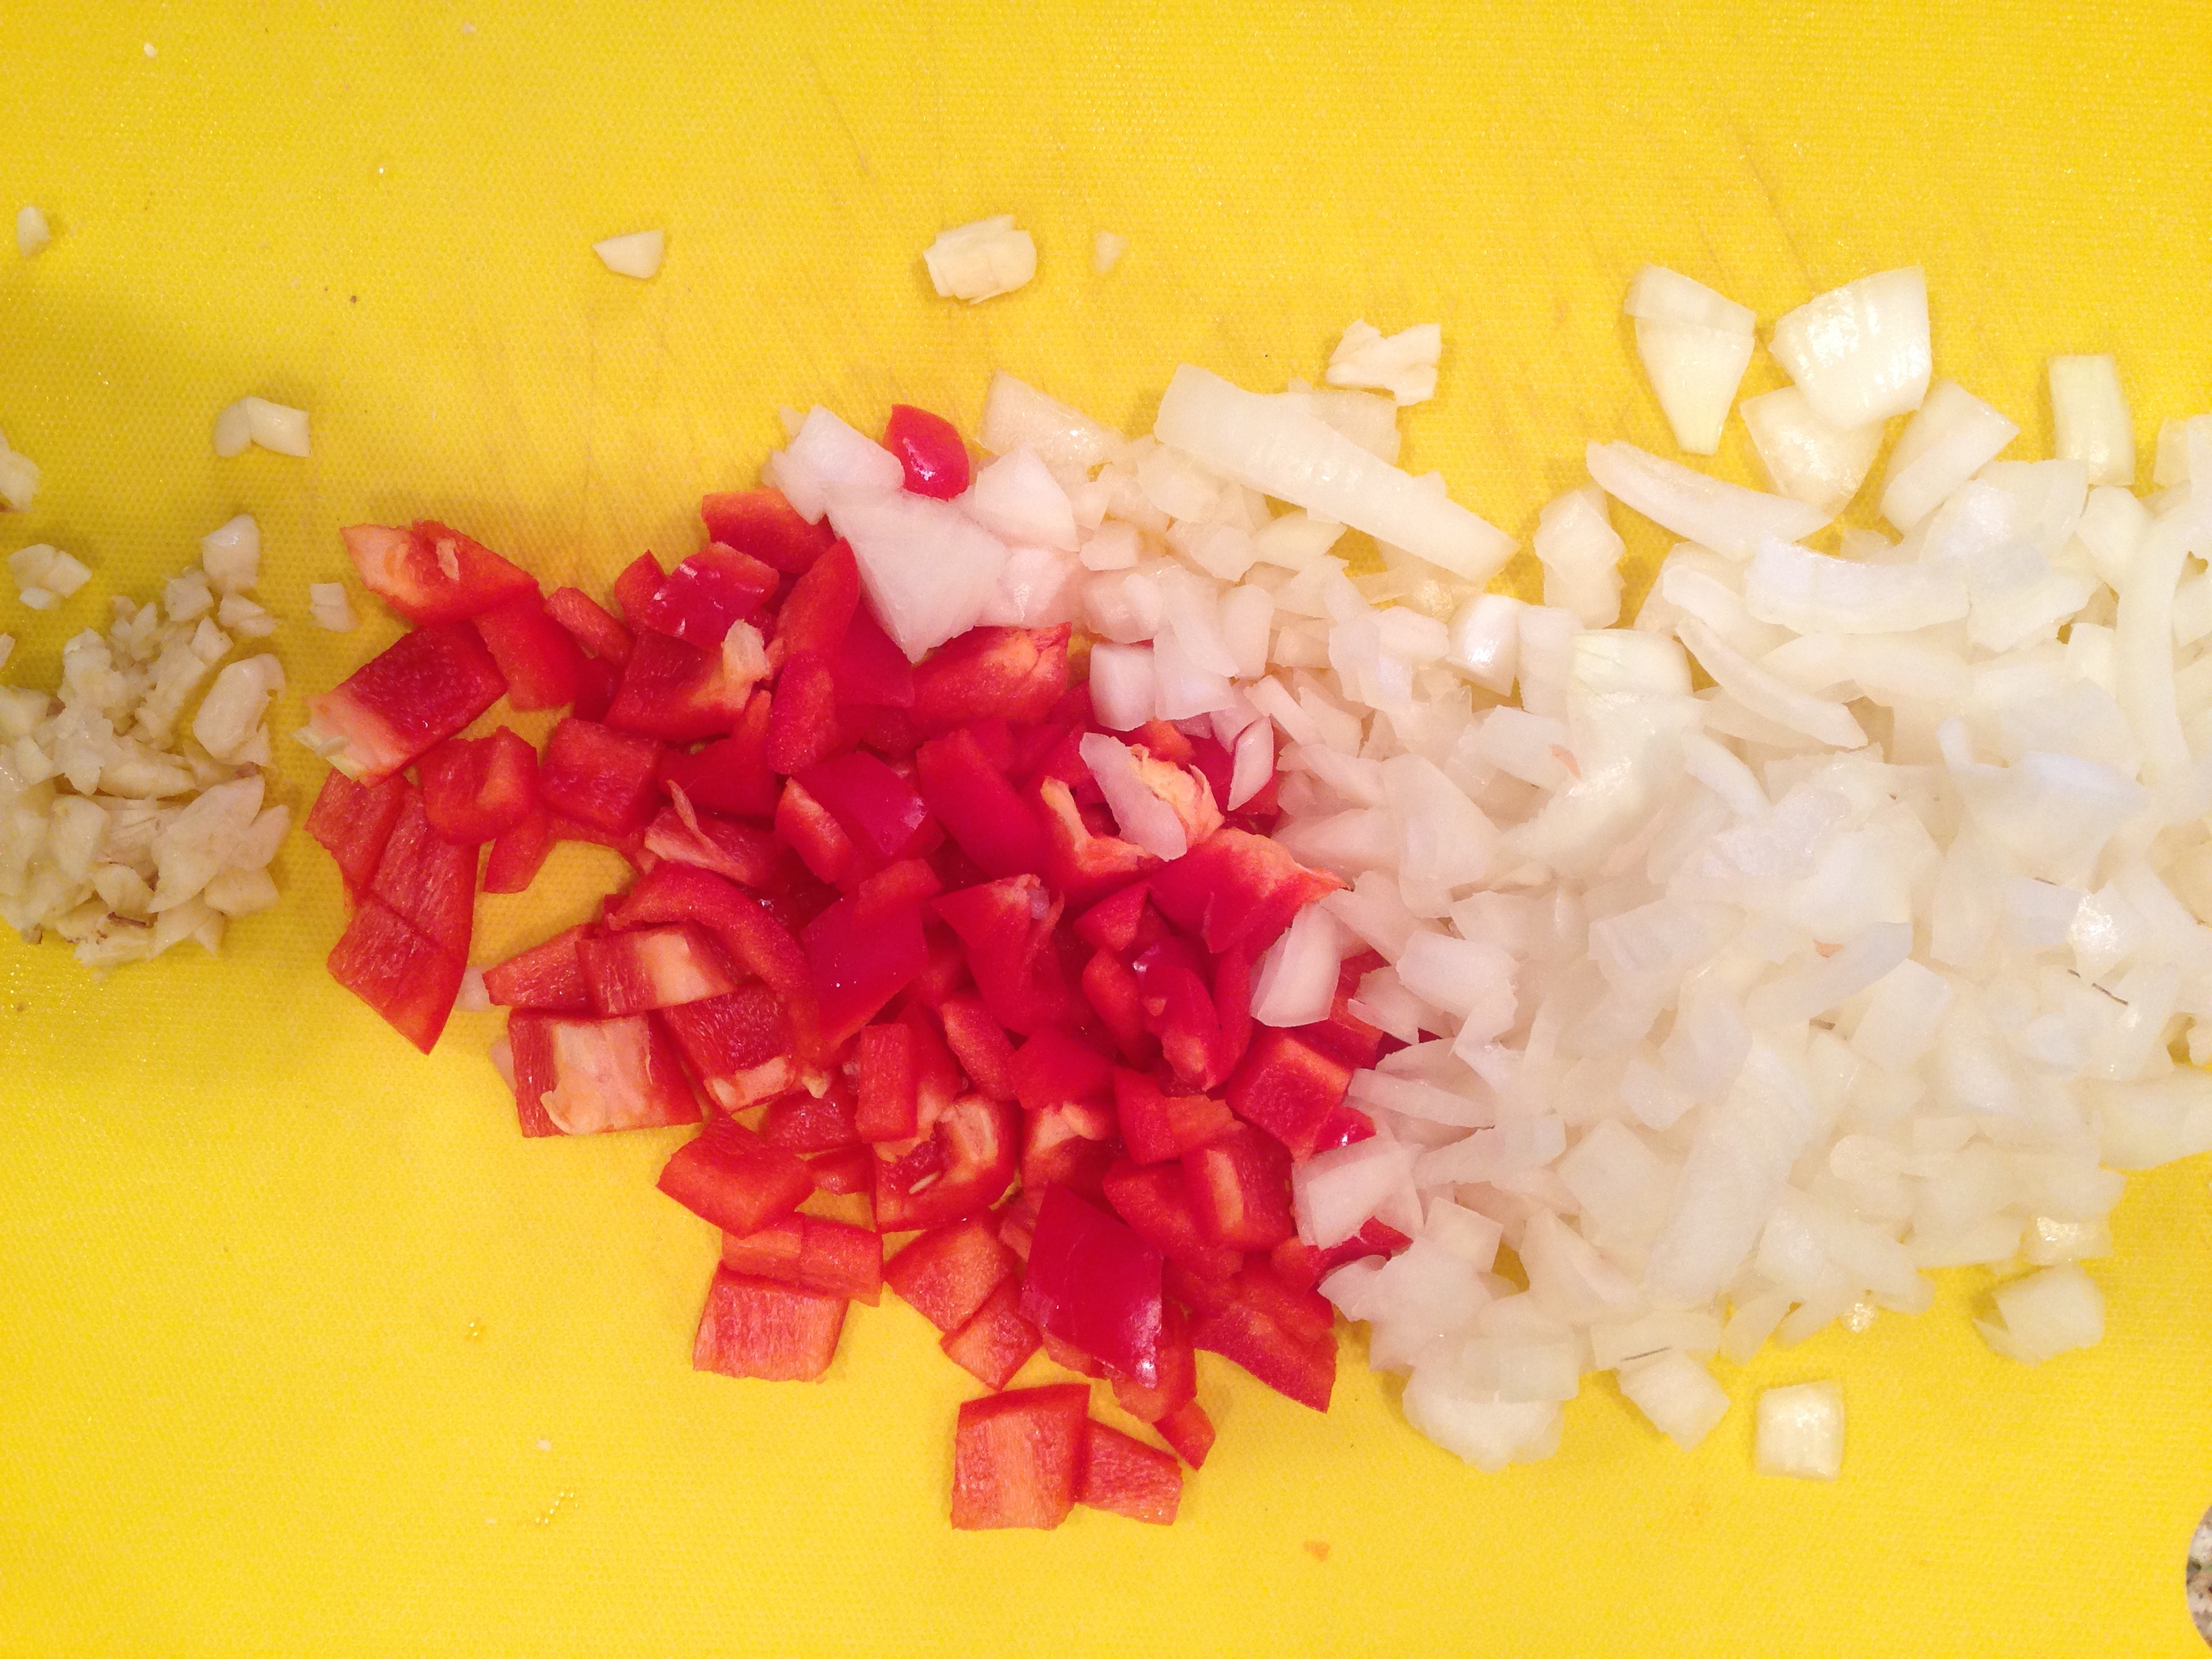
2 small yellow onions, diced (about 2 cups)

1 red bell pepper, seeds and stem discarded, diced (about 1 cup)

3 garlic cloves, minced (add more if you love garlic)

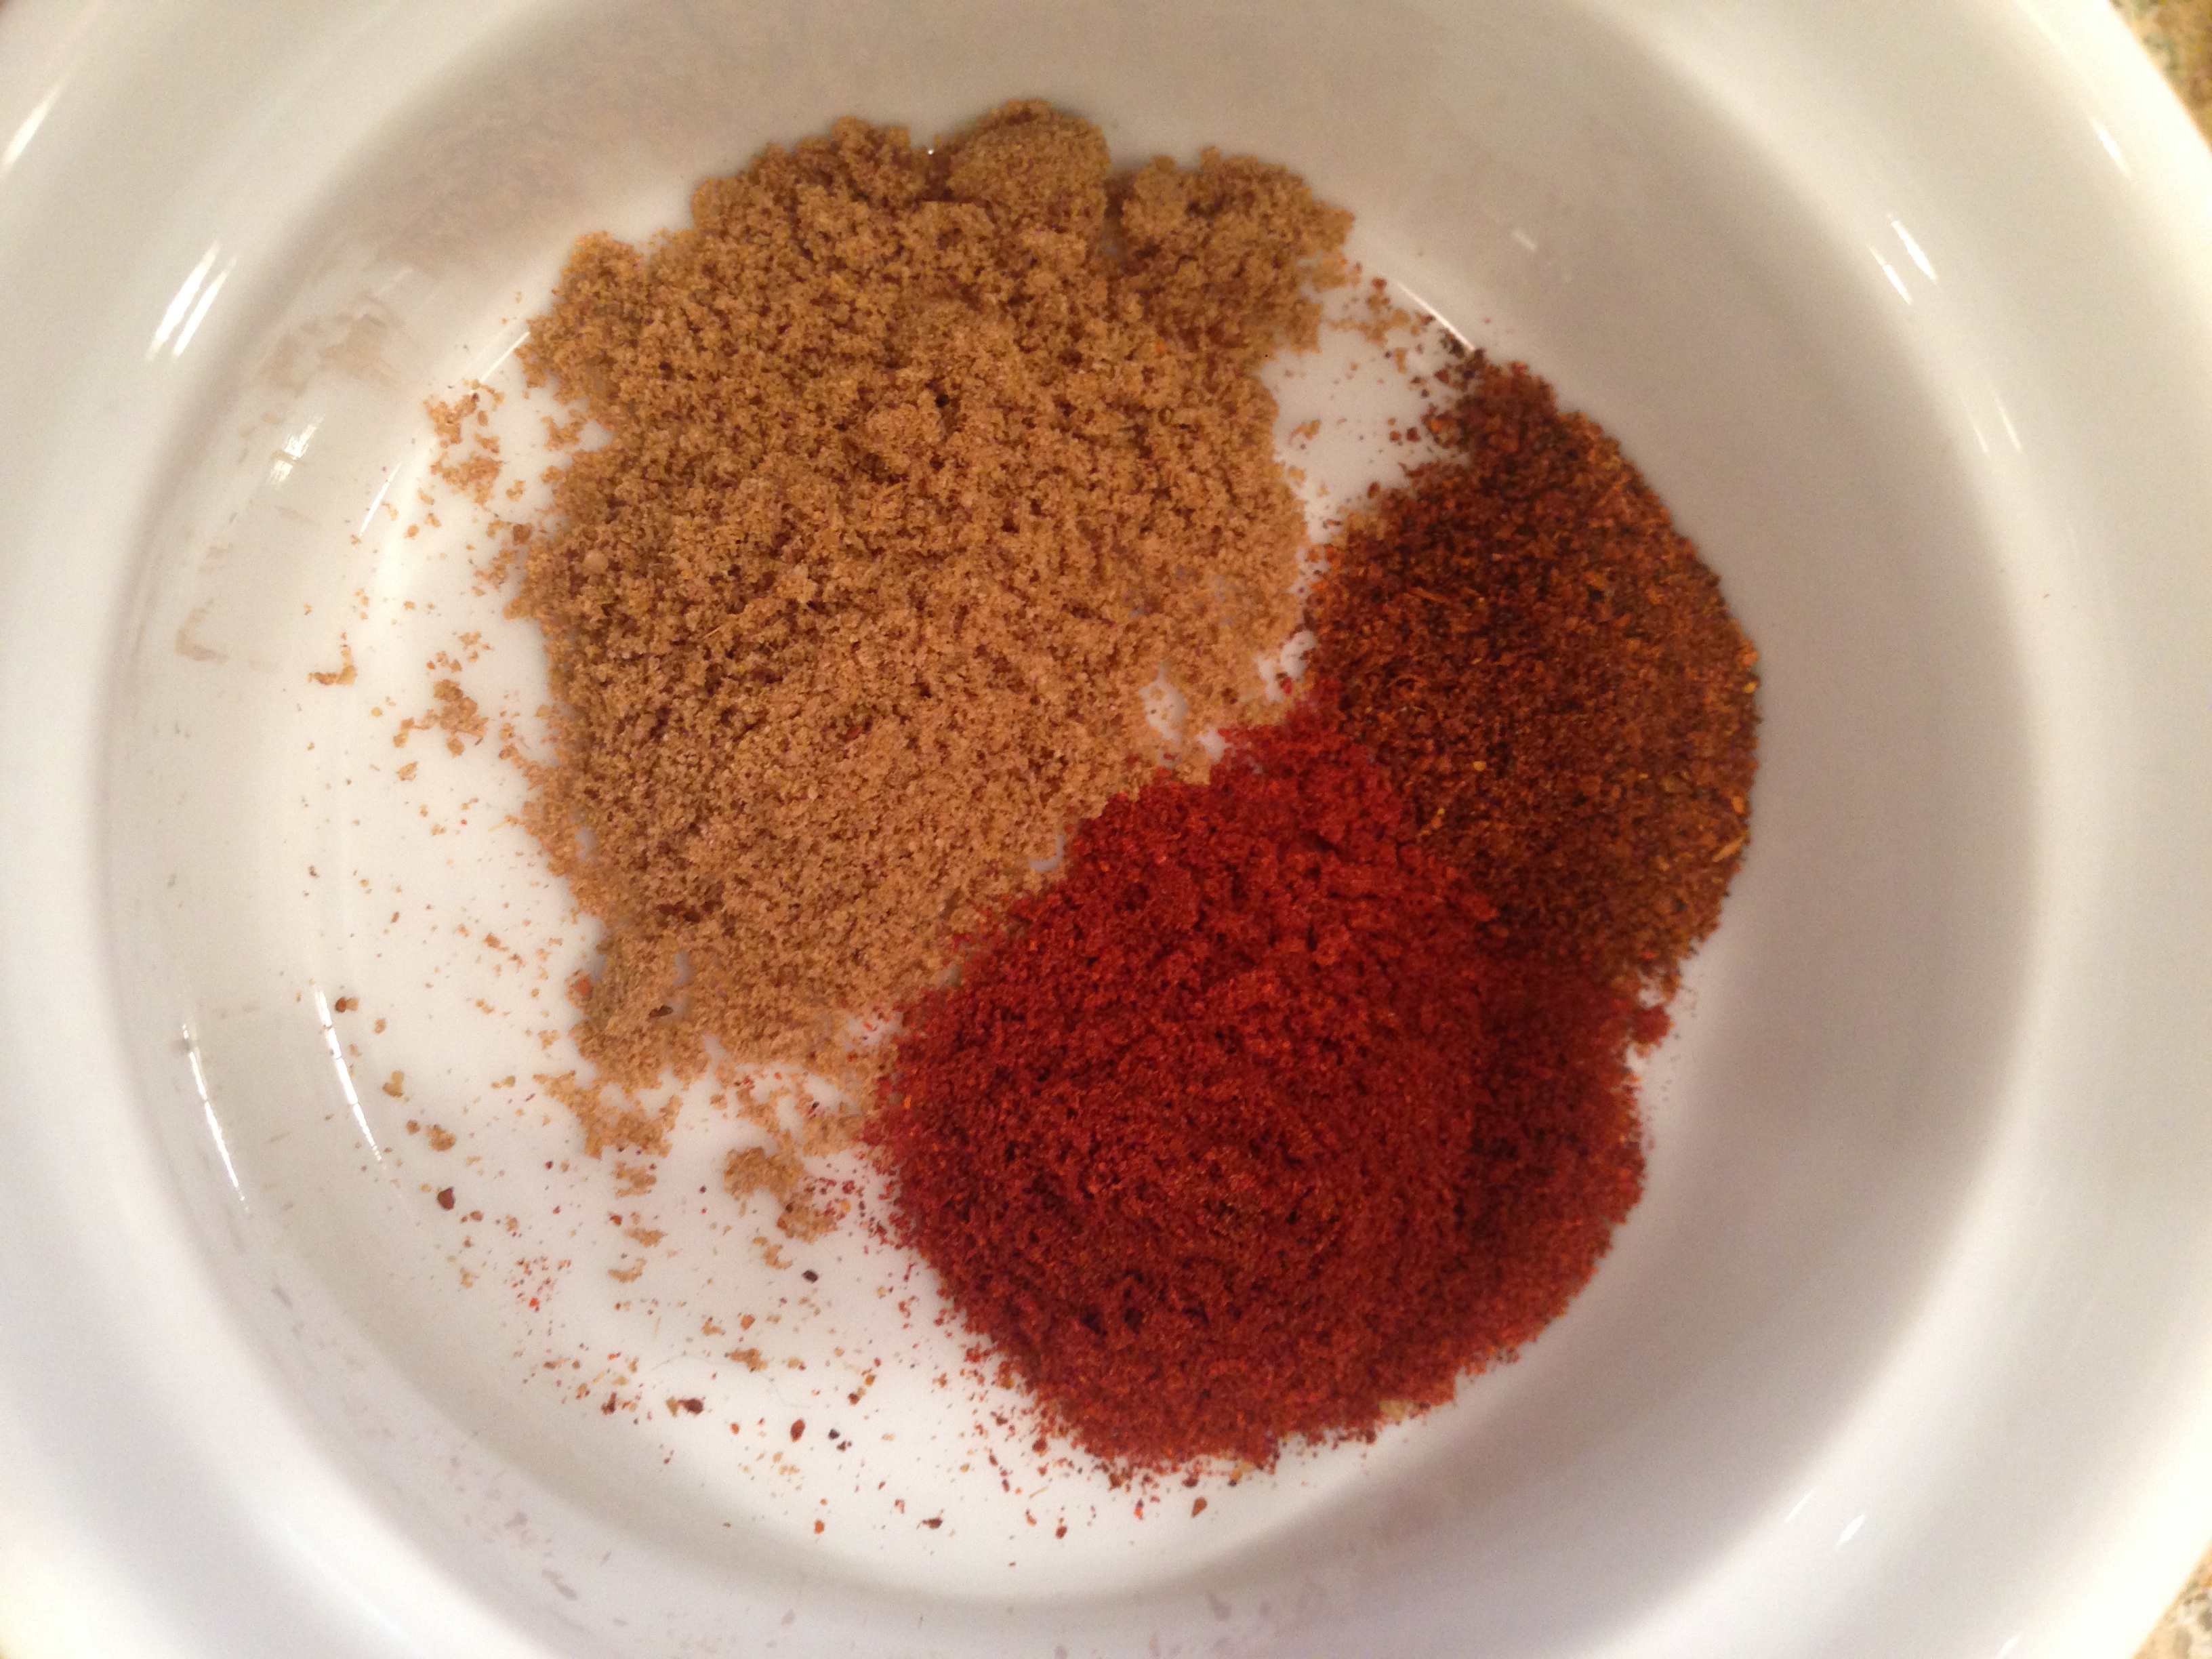
3/4 teaspoon ground cumin

1/2 teaspoon chili powder

1/2 teaspoon paprika (the recipe calls for smoked paprika, but either variety is fine)

1 28 oz can of whole peeled tomatoes with their juice

1 14 oz can cannellini or navy beans, rinsed and drained (I added a second can of kidney beans)

Whatever toppings sound good to you (sour cream, cheese, cilantro, diced onion, etc)

METHOD:

  1. Rub chicken with about 1 Tablespoon of olive oil, and season with salt and pepper.  Roast for about 25 minutes at 425 degrees, until just cooked through.
  2. When meat is cooked and cooled a bit, shred the meet with two forks
  3. Measure the spices and combine in a small bowl to add during the next step.
chili spices
Chili powder, smoked paprika, and cumin
  1. Meanwhile, heat 2 Tablespoons of olive oil in a stock pot on medium and sauté the onions, bell pepper, garlic, cumin, chili powder, paprika and a large pinch of salt.  Cook, stirring occasionally, until veggies are softened, about 10 minutes.
chili vegetables
Garlic, red bell pepper and onion waiting for to be sautéed.
  1. Add tomatoes and another pinch of salt and turn up the heat. Bring to a boil and then reduce heat to simmer for about 30 minutes.  Break up tomatoes with a spoon.
  2. Add beans and chicken to the pot (use bouillon now if you wish).  Add about 1/3 cup water or more depending on how thick you want your soup.
  3. Simmer another 15 or 20 minutes before tasting to determine the spices or salt and pepper you want to add.
  4. Serve with toppings

My husband said the chili was “good, but not like oh my God I absolutely love this chili!”.  He thought it needed a bit more chili powder and cumin to make it a true chili flavor and tasted more like a stew than a chili.  My 10 year old daughter told me she likes my ground beef chili more.  That being said, I really thought it was a solid recipe that I would go back to again if I wanted a variation from my ground beef chili that I usually make.

Enjoy!  I can’t wait to hear what you think!

NEW RECIPE and review! Healthy Fruit Crisp

Fruit crisp Gwyneth

If you’ve been reading my blog, you know that I’m cooking my way through Gwyneth Paltrow’s latest book It’s All Good. It’s full of super healthy recipes that look amazing.  I’m approaching my project as a busy mom on a budget who loves to cook.  I sort of feel like Gwyneth doesn’t understand the “on a budget” part of life, so my goal is to determine how approachable her recipes truly are.

Two days ago, I had my next Gwyneth Paltrow recipe lined up to test. It’s her “Flourless Anything Crumble” which consists of 4 cups of any type of fruit, some maple syrup, olive oil, lemon juice, and cinnamon (all things that are affordable and easy to procure). It also called for almond meal and quinoa flakes for the topping rather than the standard oats and flour. I set off for the grocery store and that’s when the wheels came off of this plan. The almond meal flour was $12.00 and the quinoa flakes were $10. There was a time when I would have guiltily spent $22 on ingredients that would have languished in my cupboard long after using them *one time*. Today, however, I decided that Gwyneth Paltrow could take a seat. I decided to still make the crumble because it sounds good and I had the other ingredients. However, I amended the recipe to use oats and flour because a $22 homemade fruit crumble does not figure into my plans or budget. I can imagine the typical household in this country probably feels the same way.

I thought the resulting recipe with my changes was quite good, although much less sweet than a typical crumble.  I used a mixture of frozen peaches and blueberries.  I would highly recommend setting your expectations a little bit low for this and approach it as you would when you eat a piece of fresh fruit with maybe a little added *extra*.  It was indeed quite healthy, tasted yummy, and I even had it the next morning for breakfast.  My 10 year old ate her whole serving with gusto and my husband had two servings and then asked if I could make it sweeter next time.  This isn’t necessarily a dish you would make as a dessert for a special occasion, but perhaps a healthy dessert alternative for a weeknight.

Here’s the recipe, adapted from the original featured in It’s All Good.

Fruit Crumble

Ingredients:

4 cups fruit of your choice (apples, peaches, berries, etc)

4 tablespoons real maple syrup (or more to taste)

1 tablespoon lemon juice

1/4 cup white whole wheat flour or gluten free flour of your choice

1 cup oats (old fashioned or rolled)

pinch of salt (I use sea salt)

1/2 teaspoon ground cinnamon

2 tablespoons olive oil

2 tablespoons butter (or dairy free butter like Earth Balance), cut up into small pieces

METHOD:

Preheat oven to 400 degrees.  Toss the fruit with 2 tablespoons (or more to taste) of the maple syrup and lemon juice.  Spread out into an 8×8 baking dish.  Mix the flour, salt, cinnamon and oats in a large bowl.  Stir in remaining maple syrup and the 2 Tablespoons of olive oil.  Spread the topping on top of the fruit.  Scatter the butter pieces on the top.  Bake until the topping is golden brown and the fruit is bubbling, about 30 minutes. Serve with homemade whipped cream or ice cream for an extra treat.  Or, heat up leftovers in the morning and eat for breakfast with yogurt.

NEW RECIPE! Roasted Chickpeas, Easy After School (Or Work Or Sports Or Whatever) Snack

chickpeas roasted up close

The poor chickpea.  It gets such little respect. No one can even agree on what its name is.  Is it a garbanzo bean?  Is it a chickpea?  No one really knows.  But before you give up on these little legumes, you should know  they are versatile and yummy and full of goodness.  For instance, 1/2 cup of chickpeas have both 6 grams of protein and 6 grams of fiber.  The average adult needs about 24-35 grams of fiber a day depending on how many calories a day you consume.  And while the amount of protein you need is widely debated, it is a good idea to consume a good-quality protein at least 3-4 times a day to keep your blood sugar in check.  I was recently told that my afternoon carb cravings were a result of too little protein in my diet.  I am not sure if that is scientifically sound advice or not, but I have noticed that when I add a protein rich afternoon snack, I don’t feel the need to hoover a bag of Goldfish crackers. 

Roasted chickpeas are so easy to make, and don’t let the fact you have to turn on your oven scare you off of this recipe.  I make these a lot on weekends because I am home puttering around.  Here’s how it works:

INGREDIENTS:
1 15 oz can of chickpeas (double or even triple the recipe if you’re feeding more than just a few people)

Olive oil

Salt/pepper/garlic salt/garlic powder/cumin/cinnamon/whatever spices you want to use (don’t use all of these together, that would be nasty)

METHOD:

Preheat oven to 350 degrees.

Rinse and drain the chickpeas well in a colander.

Spread out onto a baking sheet, and blot dry with a clean towel or paper towels.

Drizzle about 1-2 T of olive oil over the chickpeas and shake the pan to coat.

Sprinkle salt, pepper and whatever spices you want on the chickpeas.  If you are using cinnamon you might want to skip the salt and pepper.

Bake at 350 degrees for about 20 minutes, and then shake the pan or use a spatula to move the chickpeas around so they evenly bake.

Bake for another 10 minutes or so, until golden brown.  The outside should be crispy and the inside should be tender.

Good luck keeping them around for more than a few minutes!

Until next time…

Easy Roasted Sausage and Veggies

sausage veggies from above
Lots of vegetables and a little bit of sausage

You know those nights where you want to make a hearty and healthy dinner for your family, but with minimal effort and fuss?  This is the dish for those nights.  You will want to put it in your weekly rotation.  It’s so versatile because every time you make it, it comes out a little different.  You can experiment with unique spices, veggies, sausages. You can even make it completely vegan with some sausage made from vital wheat gluten (I find mine at Whole Foods).

My friend Linda first told me how she would make this super easy and delicious meal for her two sons and husband on a regular basis.  That same night I went home and make it for my family, and sure enough it was a big hit.  Not only that, but it’s economical as you can use less sausage than if it were the main event.  Save money by using in-season and local veggies (which are always cheaper than meat anyway).

This is what you do.  Go to the store and purchase any pre-cooked sausage that looks good.  I usually buy an organic version of chicken apple sausage since that’s what my 10 year old daughter loves.  But any kind of sausage will do.  Cut it into rounds and place in a rimmed baking sheet.  Forage in your refrigerator and pantry for whatever vegetables you have on hand for roasting (or pick some up when you grab the sausages).  Tonight I used mushrooms, potatoes, asparagus, onions, carrots and cauliflower.  Chop and place the veggies in the same baking sheet, and mix everything up.

Liberally drizzle olive oil over the whole thing.  Season with whatever feels good at the time.  For me it’s always salt, pepper, garlic powder.  Then I’ll add whatever else I feel like, which tonight meant rosemary and chives.

sausage veggies uncooked close up
There’s so many veggies in here!

Stick in the oven at 450 (or lower if you have more than about 45 minutes) to roast. Use a fork in the most dense vegetable from time to time to check doneness.  Serve with warm bread and fruit for a complete meal.

When it’s done, let cool and watch it disappear.  For larger families you may need two or even three baking sheets. One works for my family of three with my husband and daughter always going back for seconds, and we end up with extras to spare for leftovers.

sausage veggies cooked
Sausage and veggies all roasted and delicious.

NEW RECIPE! Easy Garlicky Mustard Vinaigrette

garlicky mustard vinaigrette

Good quality salad dressing is one of those recipes that is just so easy to make, and so darn expensive to buy at the store.  Most store-bought salad dressings have unnecessary ingredients and fillers, not to mention lower quality ingredients than what you probably have on hand in your kitchen and pantry.

This Easy Garlicky Mustard Vinaigrette is a great recipe to start with if you are new to making salad dressings or you just feel like having a simple vinaigrette.  It’s almost always in my refrigerator.

Every ingredient in this dressing is healthful, and it is full of good fats (olive oil) and possible cancer prevention (garlic, mustard seeds and vinegar).

INGREDIENTS:

½ cup olive oil

2 tablespoons rice wine vinegar (you can substitute any vinegar you like here)

1 teaspoon whole grain mustard

¼-1/2 teaspoon salt (to taste)

1 clove garlic smashed with the flat side of a chef’s knife

Black pepper to taste

METHOD:

Combine all ingredients in a jar with a lid and shake vigorously until combined.  When the dressing has the intensity of garlic taste you desire, remove the piece and discard. When you refrigerate this dressing, it will likely turn into a solid.  Simply remove from the refrigerator about 1/2 hour before using, or run under warm water. It will last about a week or so in the fridge.

NEW RECIPE! Potato, Carrot and Leek Soup

carrots
Fresh in-season carrots are so sweet and delicious.
leeks
Don’t be afraid of leeks. They are awesome.

I picked up my CSA box yesterday that contained two fresh leeks and a bunch of carrots.  Because it’s late August, my immediate thought was “I’ve got to make some soup!”.  There was a time when I was petrified of leeks.  Like, I had absolutely no idea how to use them or prepare them.  I found myself intimidated.  But I decided several years ago to just get over myself and once I went leek, I never went back.  So, I got home from the farmer’s market, found a bag of potatoes in the pantry, and got to work. It was lunchtime and we were hungry so I didn’t stop to snap photos.  Trust me, though, this is a soup you’ll want to make over and over again.  Note: When leeks are unavailable, substitute any mild sweet onion such as Vidalia.

This soup is hearty without being overly heavy.  It smells fantastic while cooking. My husband, who was outside doing yard work, kept catching whiffs of it as he walked by the back door and couldn’t resist asking for a sample before it was done. You will find yourself making this a go-to soup all fall and winter long.

INGREDIENTS:

  • 2-3 Tablespooons butter (or olive oil if you want a vegan soup)
  • 2 large leeks, washed well and chopped, white and light green parts
  • 5 celery stalks, chopped
  • 8 cups vegetable broth (I prefer using Better Than Bouillon)
  • 6 large potatoes, scrubbed and quartered (I leave mine unpeeled, and you can use essentially any kind.  Russets might get mushy if you care about that kind of thing.)
  • 8 carrots, chopped (again, I wash mine well and leave unpeeled)
  • 1 squash, any size, quartered (you can omit this, but I happen to have a lot from the CSA box to use)
  • 1-2 teaspoons salt, depending on the salt content of your broth/bouillon
  • 1 bay leaf
  • 3 cloves of garlic, diced
  • Pepper to desired taste (generally 1/4-1/2 teaspoon)
METHOD
  • Melt the butter in a large stock pot over medium-high heat.  When the pot is nice and hot, cook leeks and celery until softened, about 5 minutes.  Make sure not to burn the vegetables.
  • Add the broth, potatoes, carrots, squash,  garlic, salt (if desired) and bay leaf
  • Bring the soup to a boil and cook until potatoes and carrots are fork-soft (about 20 minutes).  Remove bay leaf.
  • Using an immersion blender, blend soup in short bursts until you have a mixture of smooth and chunky soup.  If you prefer totally creamy soup, use the blender until everything is combined.  We prefer more of a “stew” consistency.  (If you don’t have an immersion blender, a counter top blender would also work.)
  • Return the soup to the burner and simmer on low another 20 minutes or so to let the flavors come together completely.

This soup makes fantastic leftovers.  The soup with thicken the longer it sits.  If you want a thinner soup, just add some water or other liquid when you reheat.